F31 front brakes replaced
2017 F31 320dA -New front brakes
Service indicator suggested that front brakes were due for a check.
Car is currently at 84000km or
53000 miles.
.
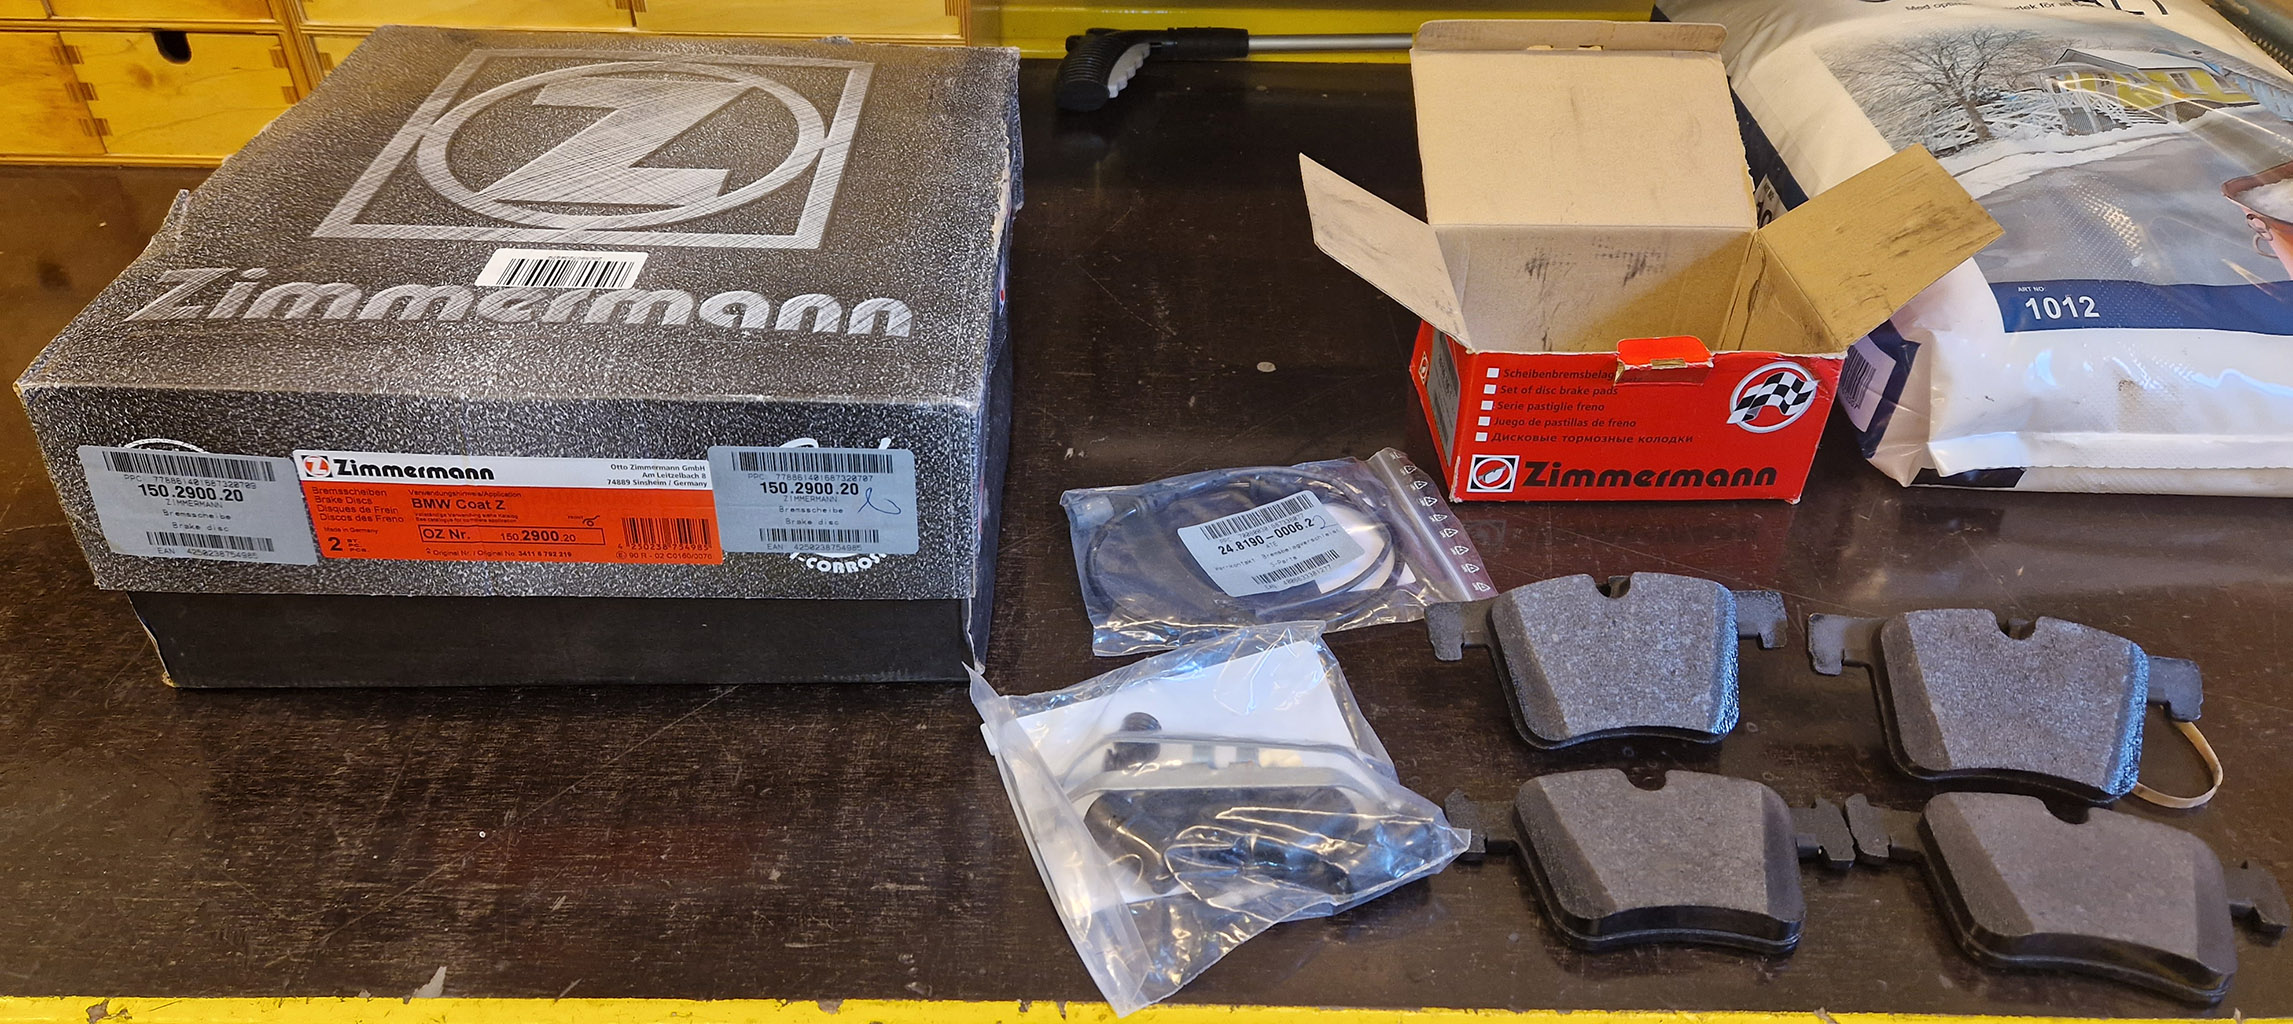 All new parts ordered.
I attempted a reset of the service message by using the odometer process, it did not allow it.
One very reliable reason to why not, is that the wear indictor is in open circuit state -i.e. it needs to be replaced along with the pads.
Tools needed
17mm six point for wheel bolts
Jackstands
Floor jack
Torque wrench 1/2"
Proper square handle 1/2"
Various allen keys
Brake bleeder
Various open end wrenches
Scotch brite
Metal files
Wire brush
Chisel
Hammer
WD-40
Brake cleaner
Caliper piston compressing tool
or big soft jaw pliers.
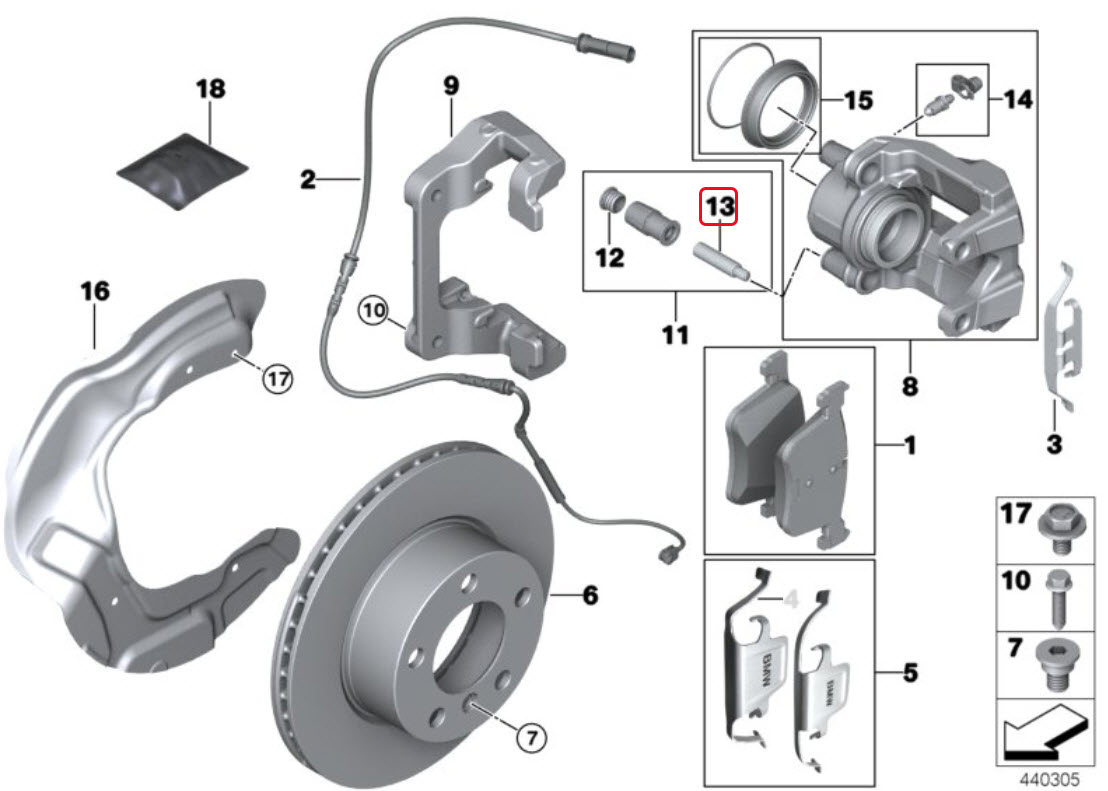
Parts list:
25199.195.1 Brakepads
150.2900.20 Rotor x2
8DZ 355 205 retainers and glidepin rubbers
24.8190-0006.2 Wear indicator
In the garage -preparations
Before starting the brakeparts dissasembly, preload the master cylinder, and (optional)use suitable tool to extract brake fluid from the reservoir,
Railpiece to push down pedal.
Loosen wheel bolts.
Lift and secure the car on jackstands.
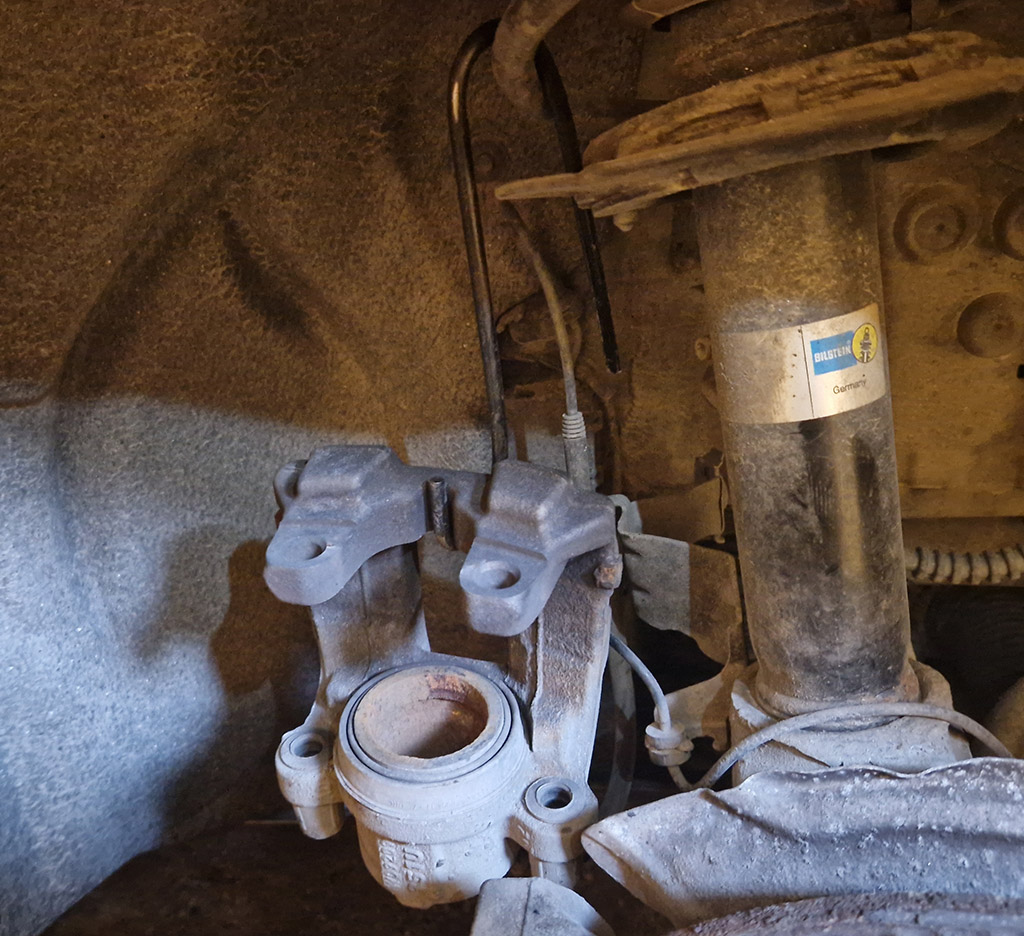
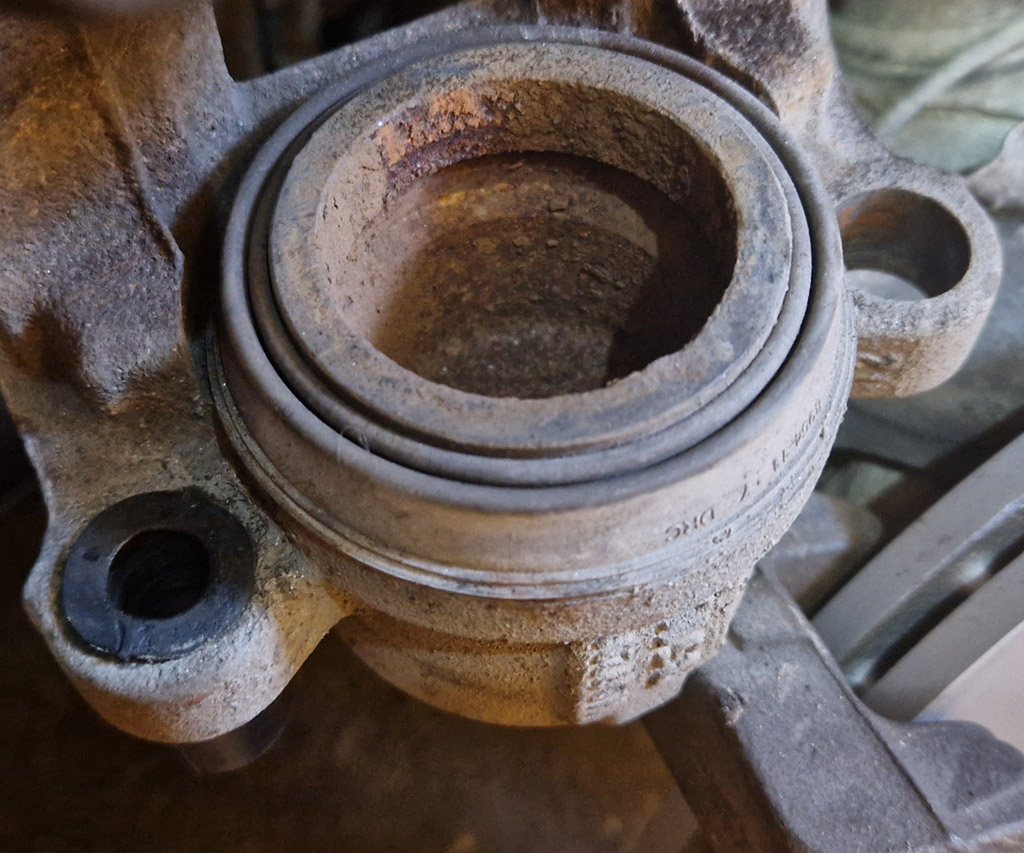
Remove the wheel to access the brakeparts.
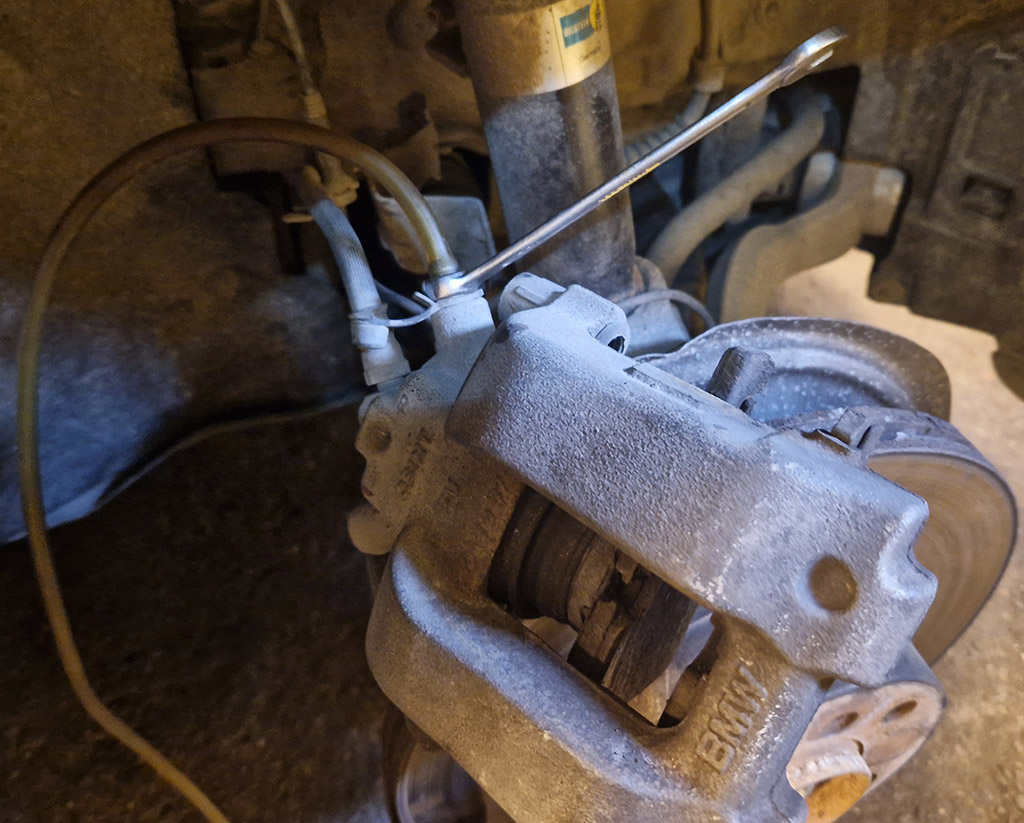
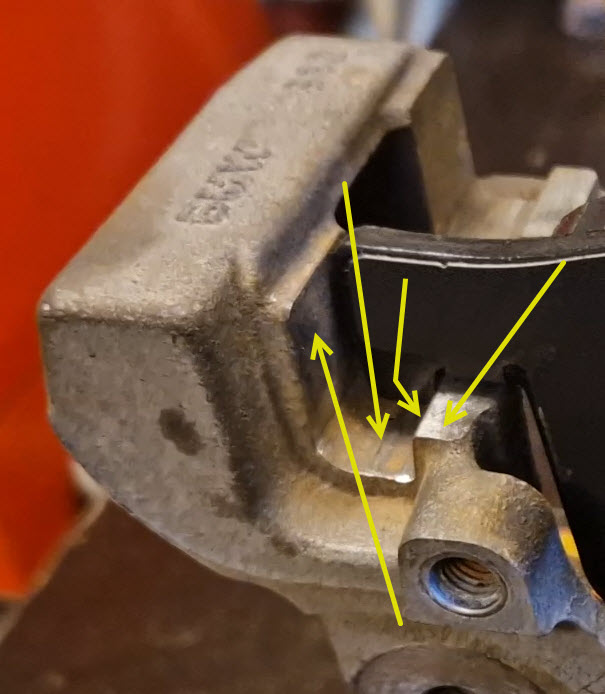
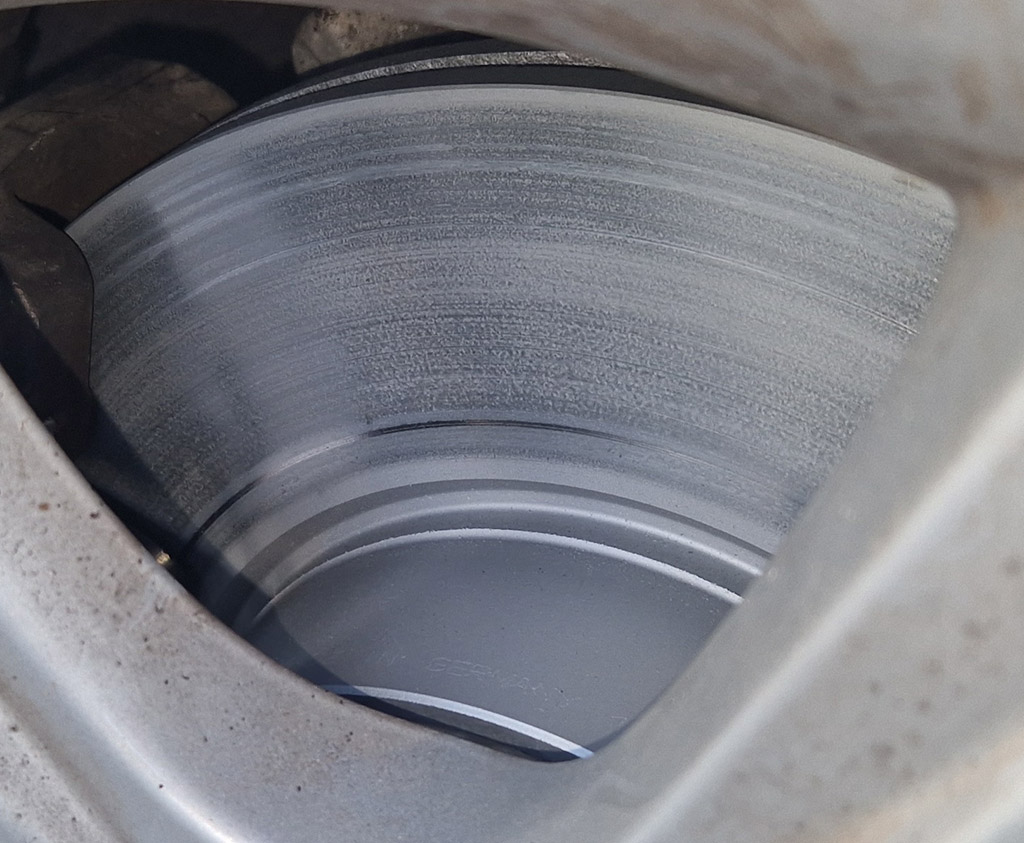
Inspection port in caliper shows indicator has been touching the rotor:
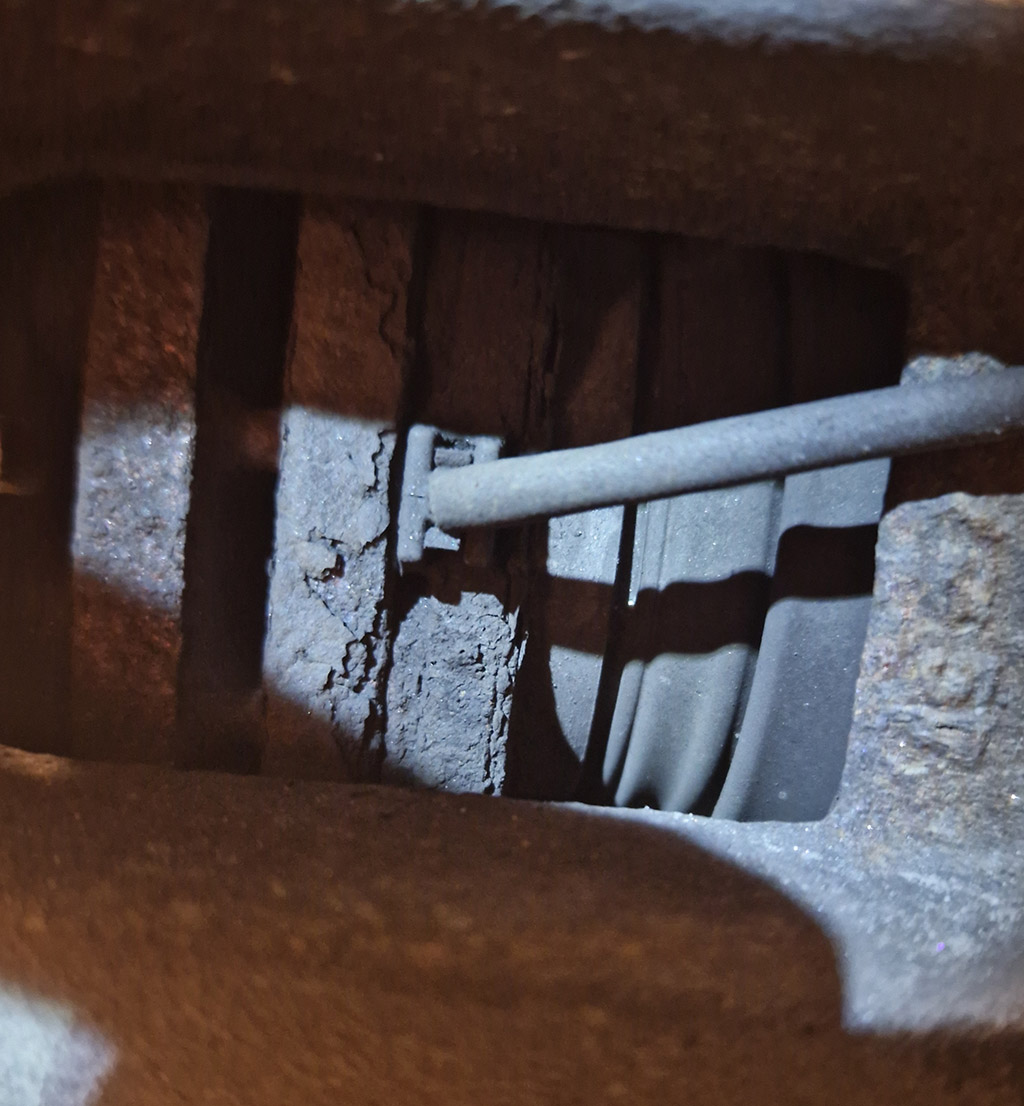
Open circuit wear indicator = no reset possible.
In the garage -teardown
First remove retainer.

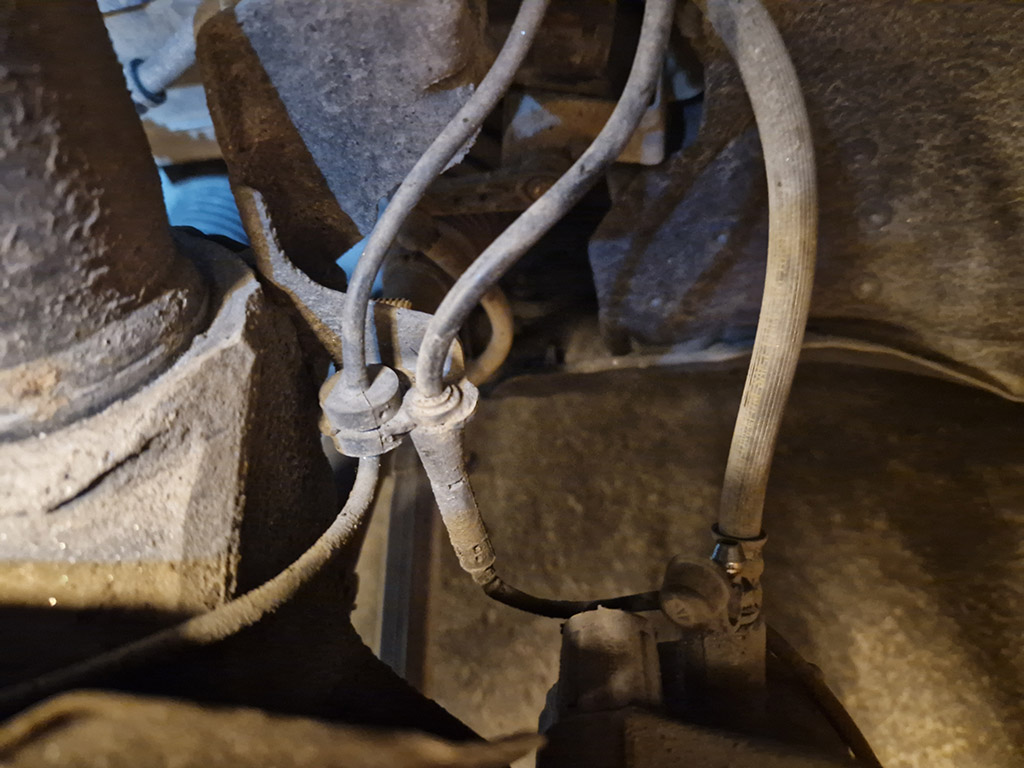
Open cable connection box.
Carefully, do not damage the brittle hooks.
Unhook rubber, some WD-40, can help.
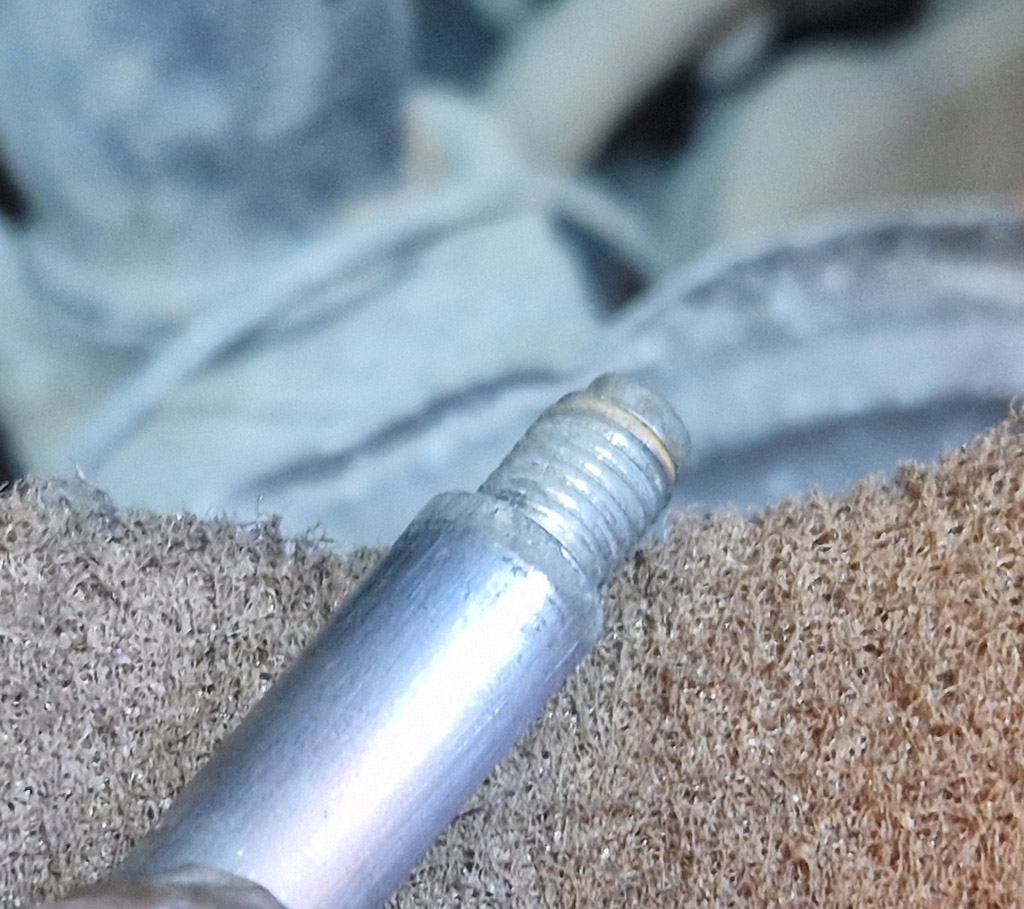
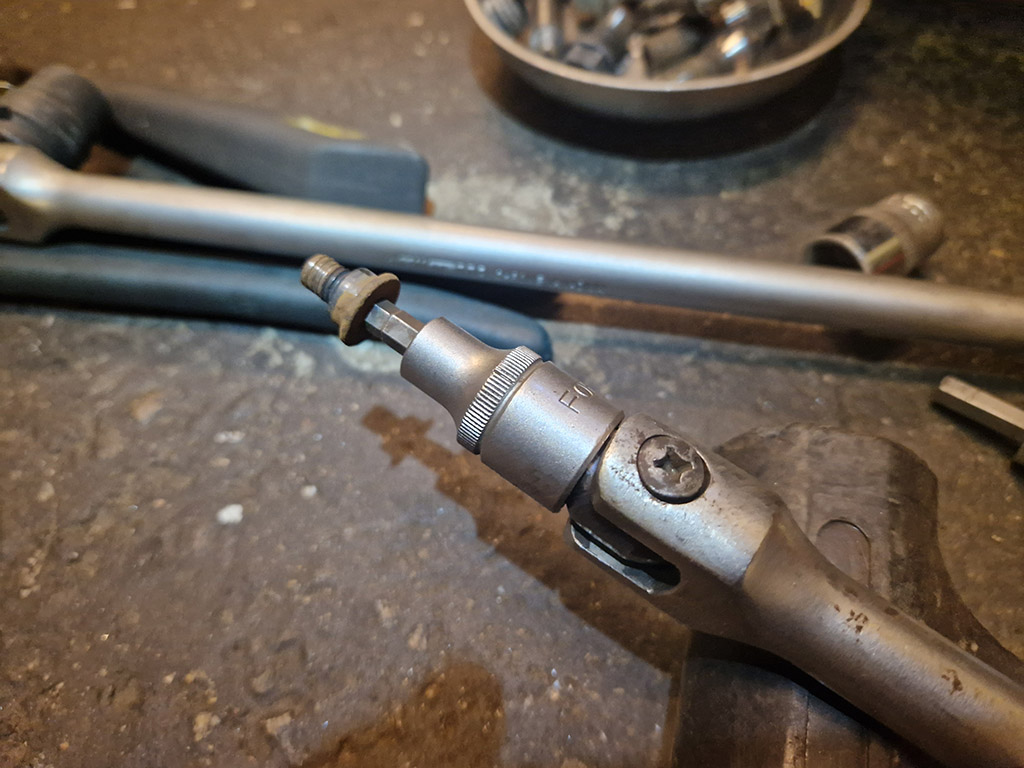
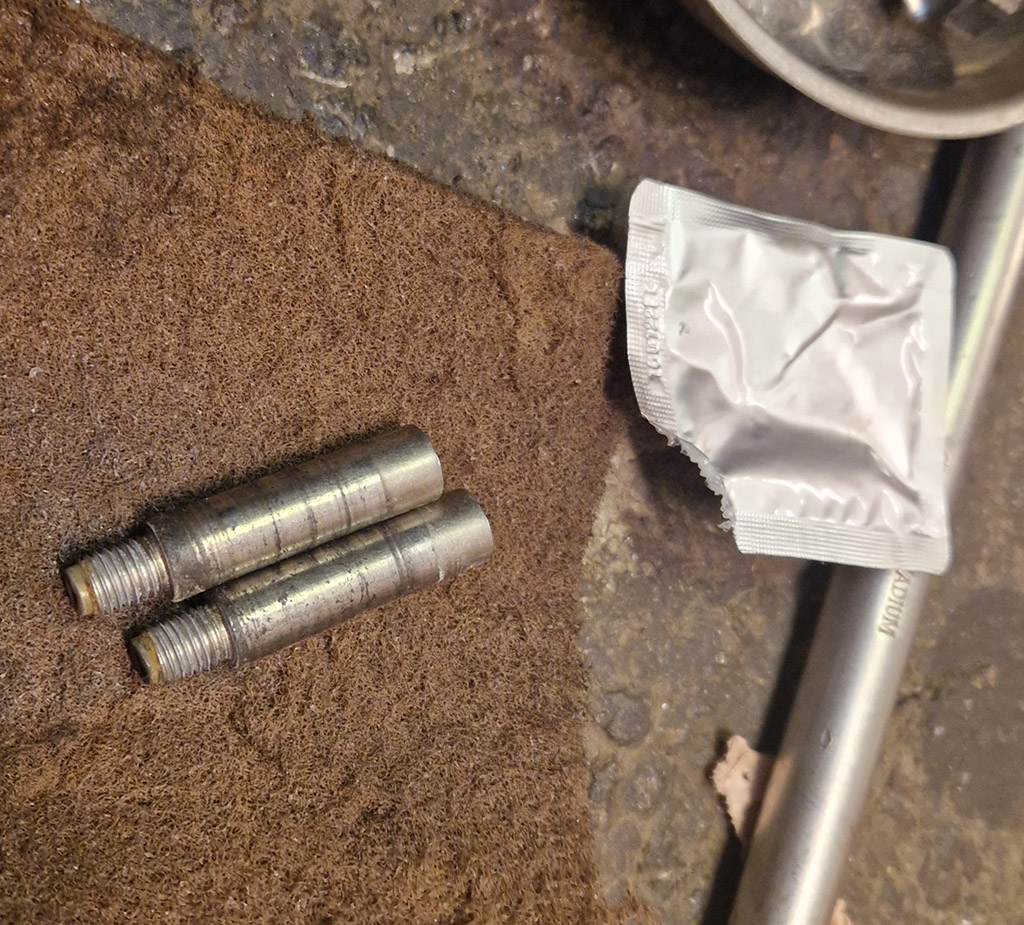
The slidepins need some cleaning.
I used the allen socket and a powertool to spin them in scotchbrite.
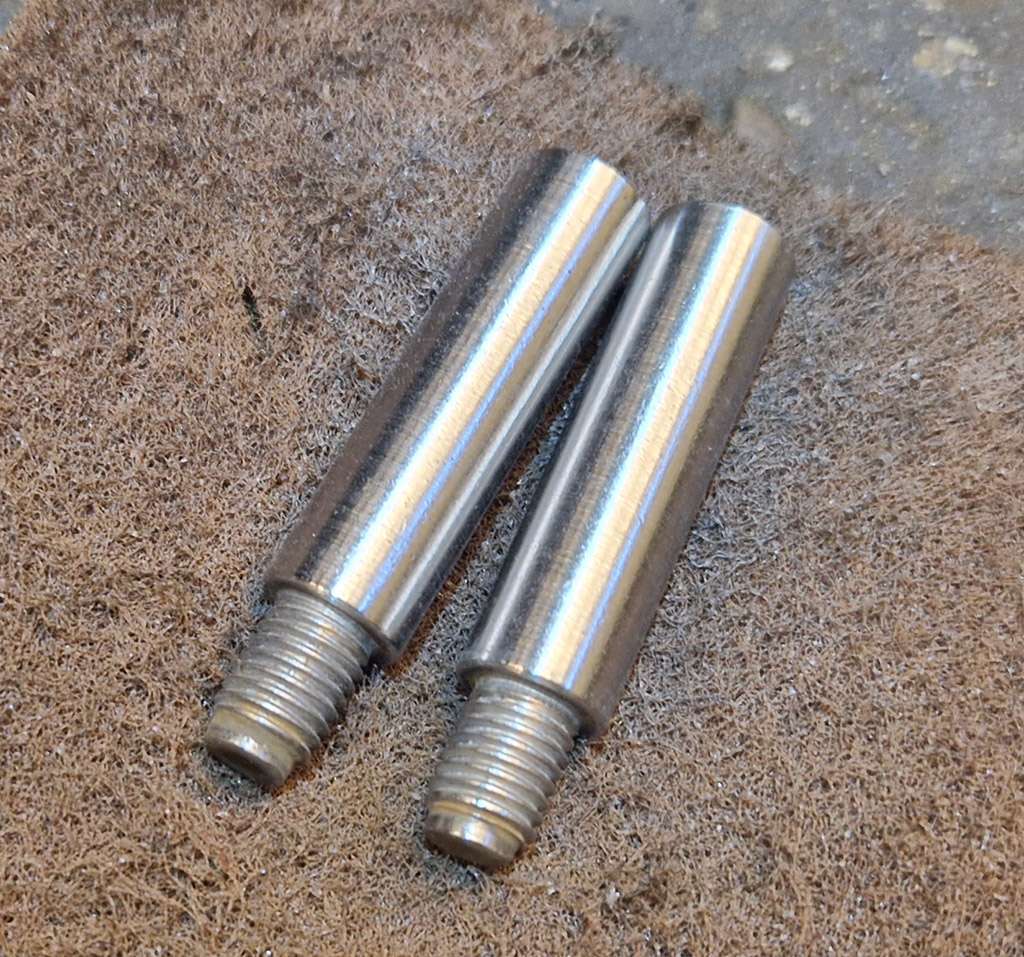
Slidepins after cleaning.
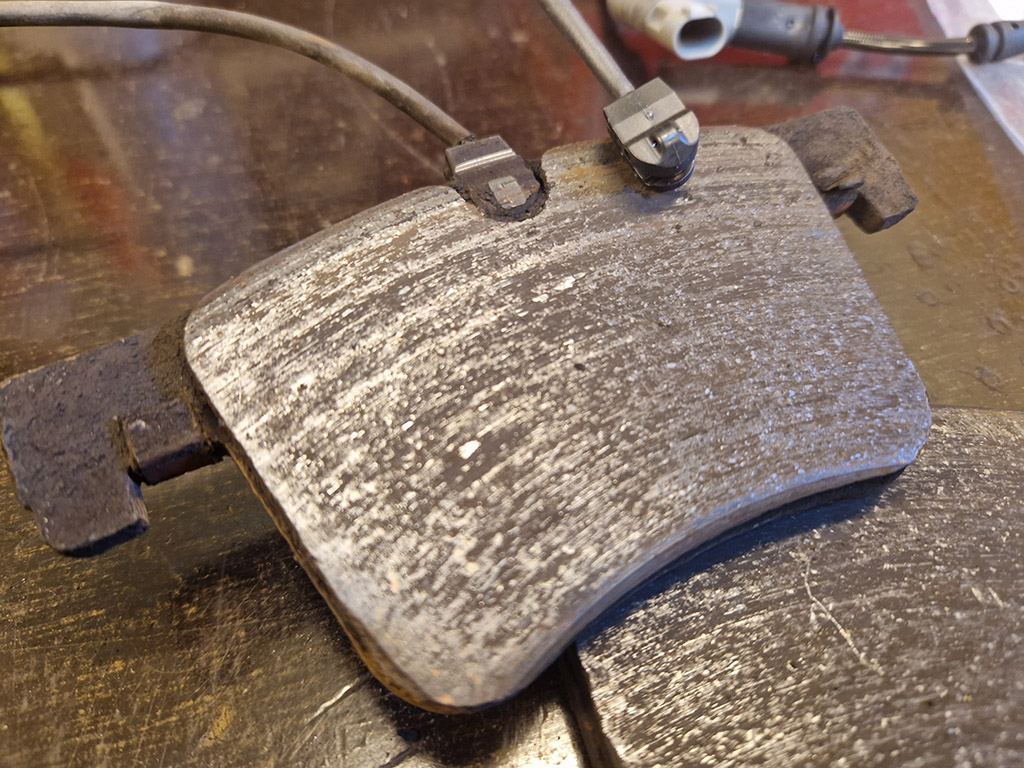
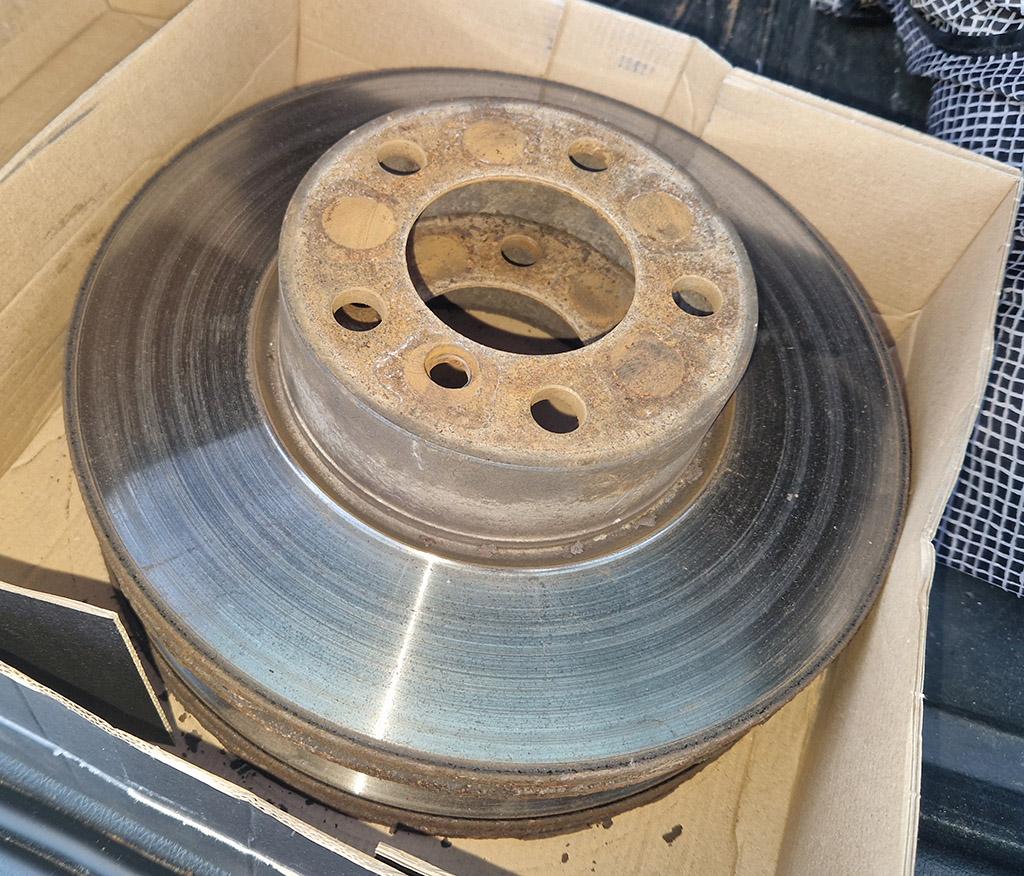
Old brake pads, inspection
Wear is even and there is no noticeable rustjacking. it pays keeping salt away by washing the car regularly.
The glidepins after cleaning.
Retract the caliper piston
Where possible, I try to avoid pushing old brakefluid back inte the system.
By using the preload on the brakes and the reservoir emptied the cliper can be pushed in without risk of overflowing.
Old brake fluid will be forced out the bleeder instead.
Connect hose, bleed the brakes
by pushing the caliper piston in.
When done, with hook, hang the caliper on the spring, dont let it hang by the brakehose.
Proper way to hook caliper.
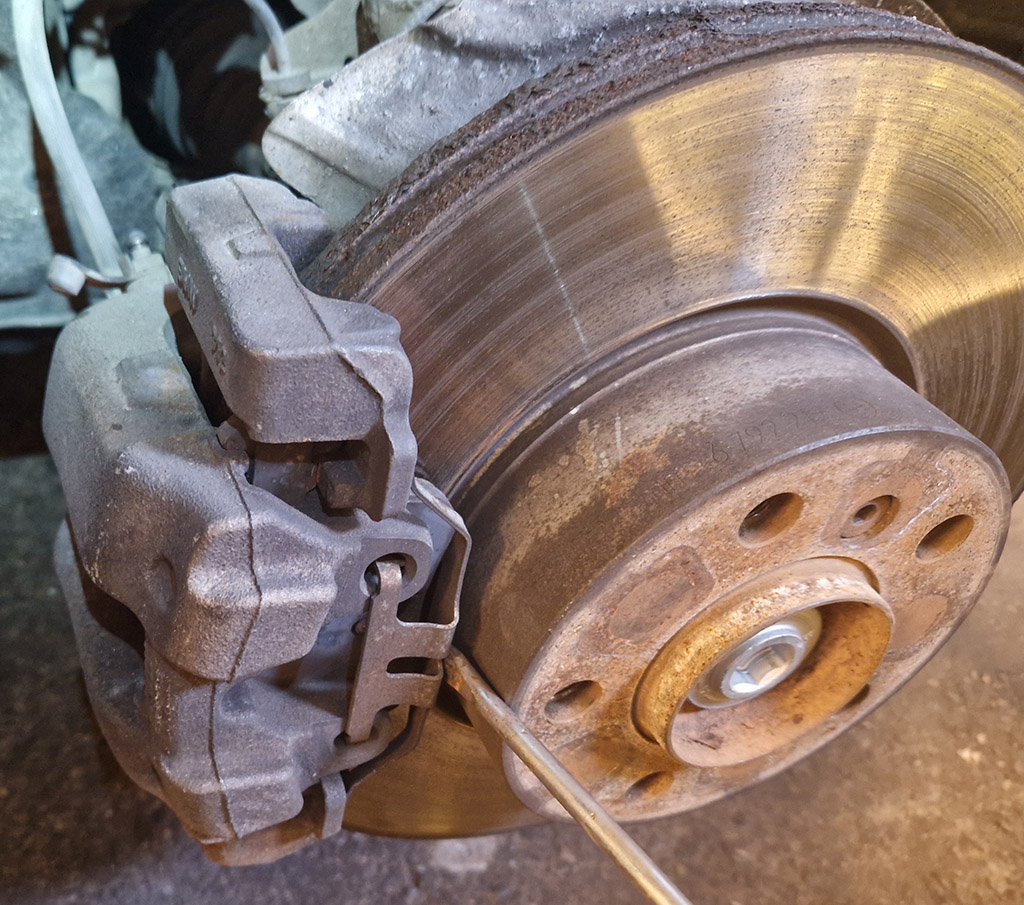
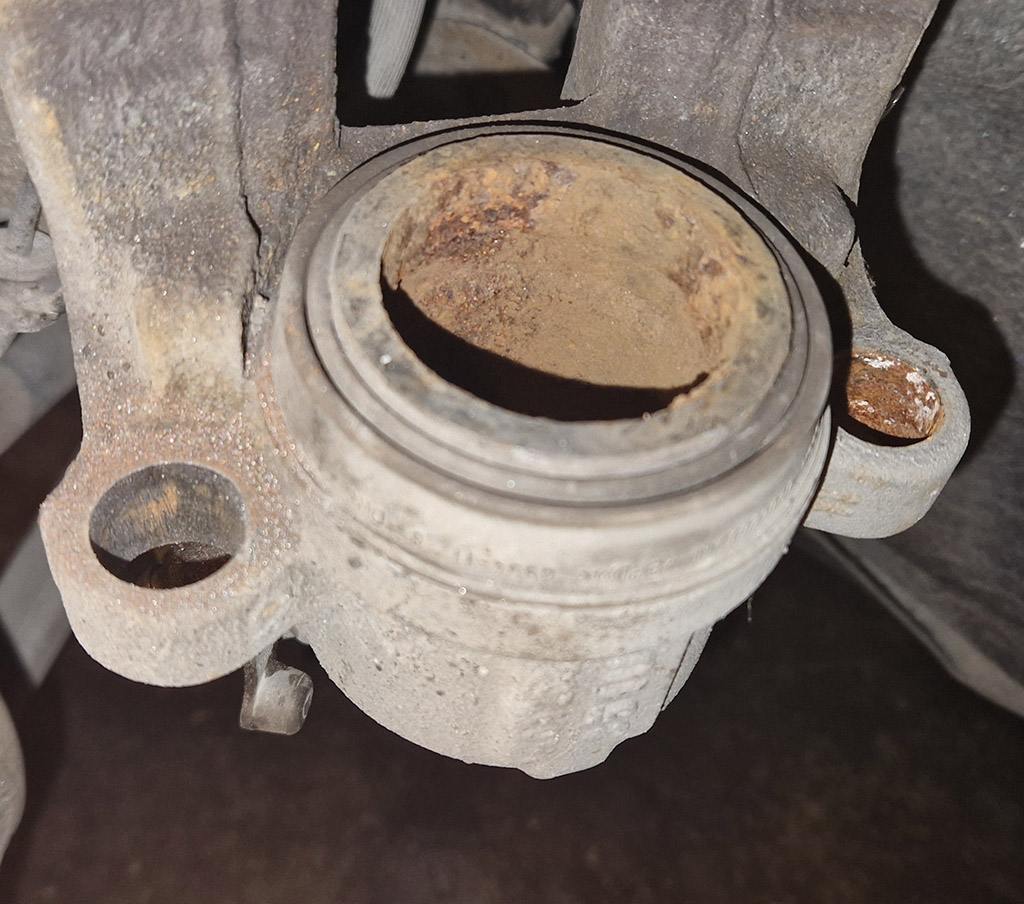
Remove the rotor
Remove the caliper braket, no 9 in picture.
I was lucky, the car is not very rusty and the caliper bracket bolts came out without issue
The retaining screw can be removed with hammer and handle or impact screwdriver.
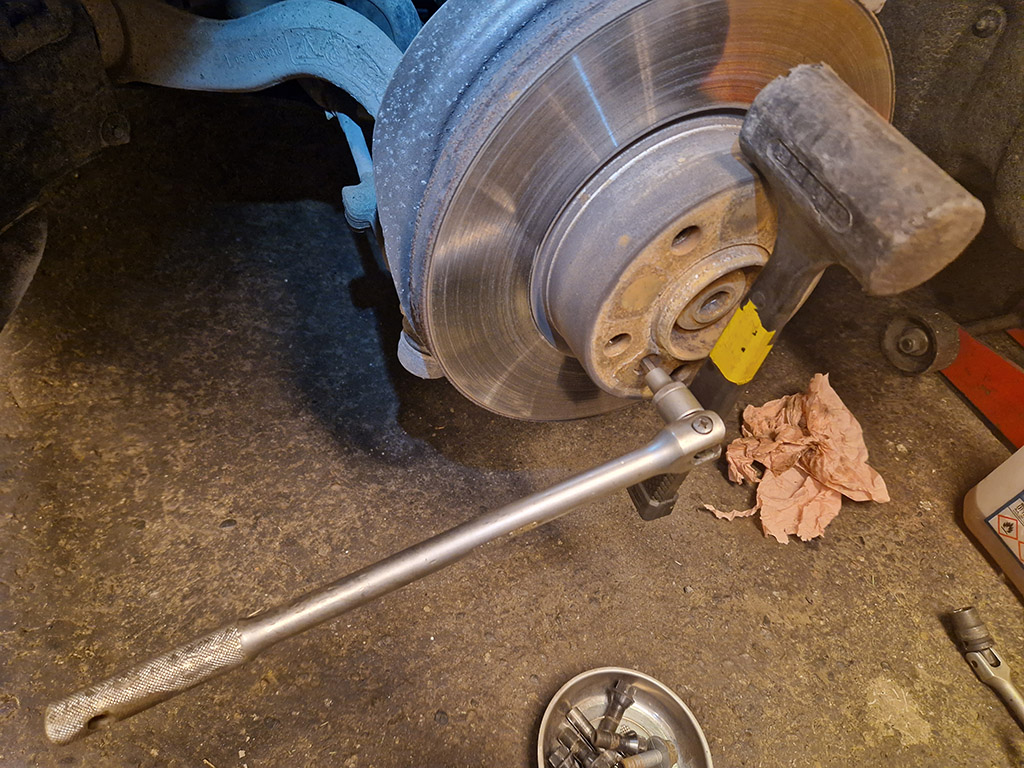
Preload and give it a whack.
Removed, no damage.
Cleaning wheel hub
Rust will and is pushing the disc unevenly, cleaning and adding thin fluid film is important in these salty environments.
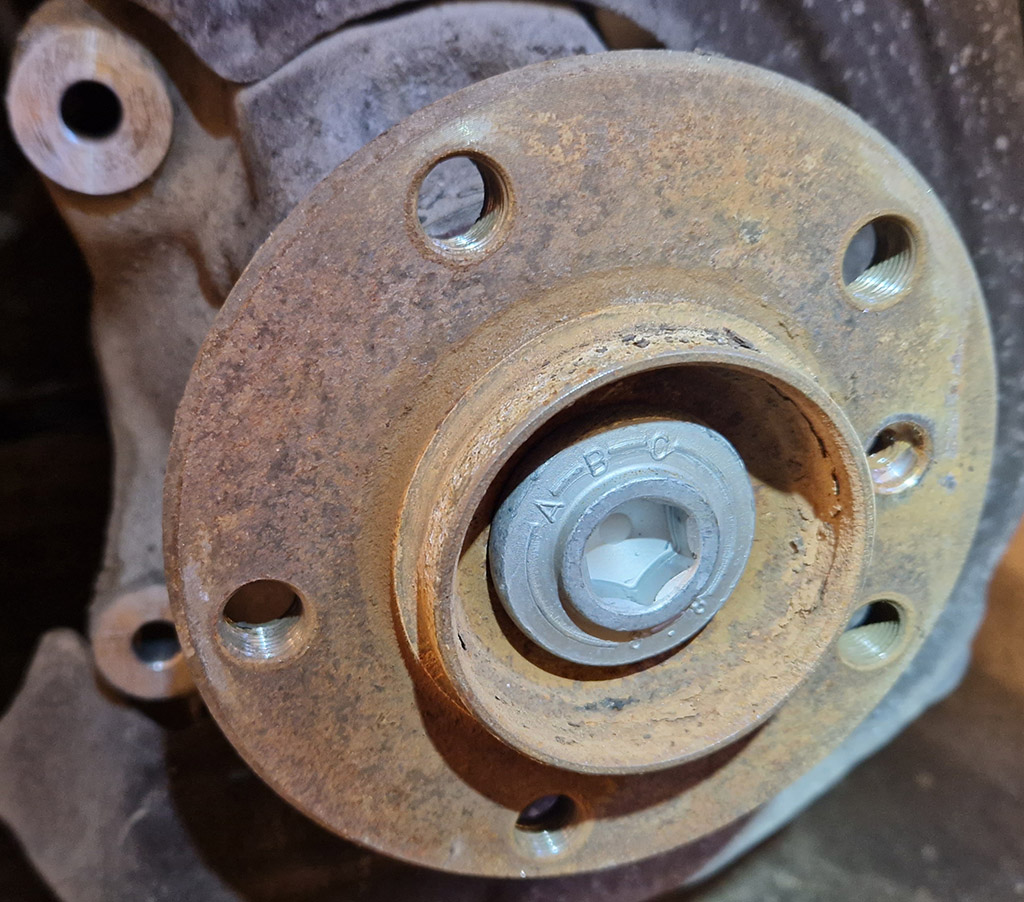
Not too bad, rustwise.
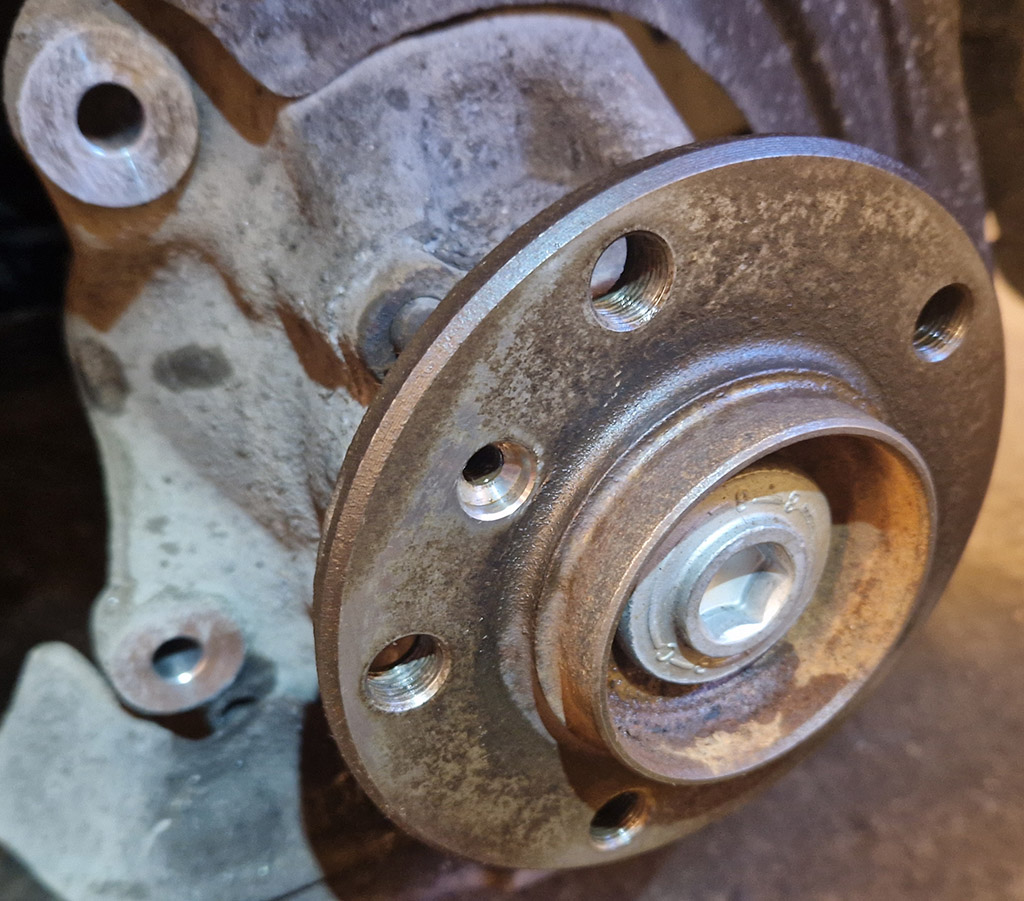
Cleaned and fluid film added.
Installing new rotor
It does not matter if the new rotor is coated or not, brake cleaner is
good practice.
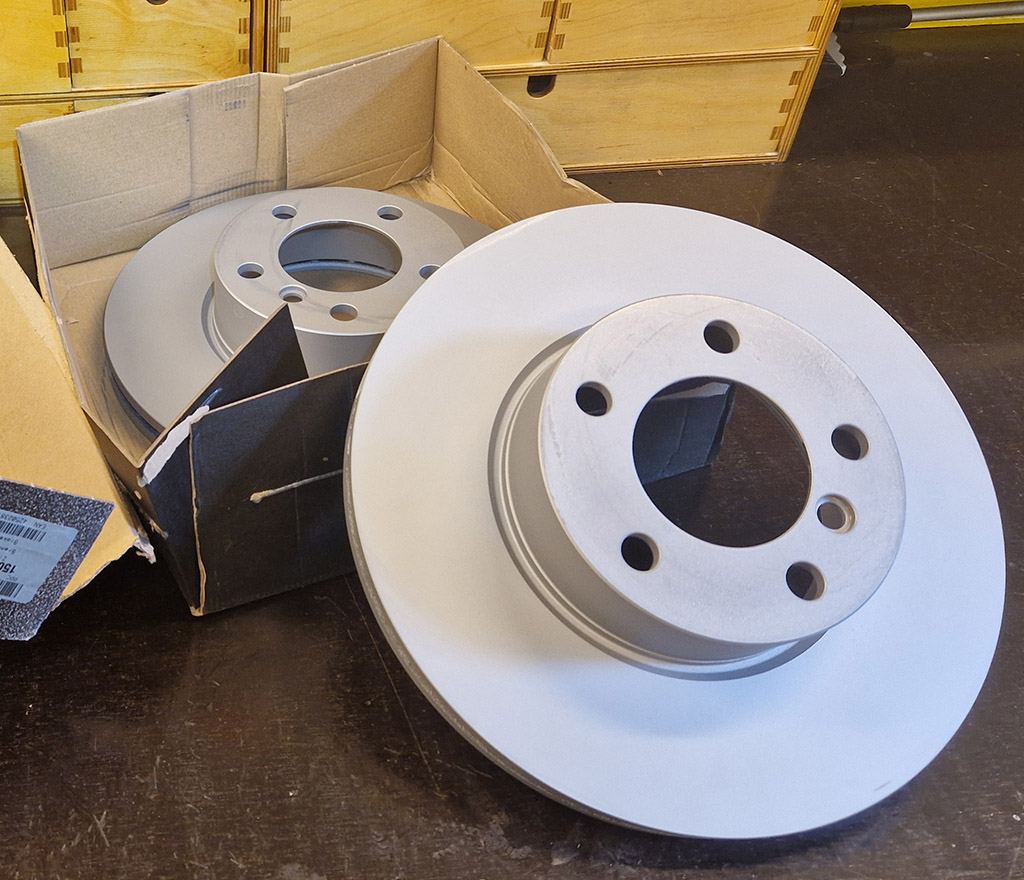
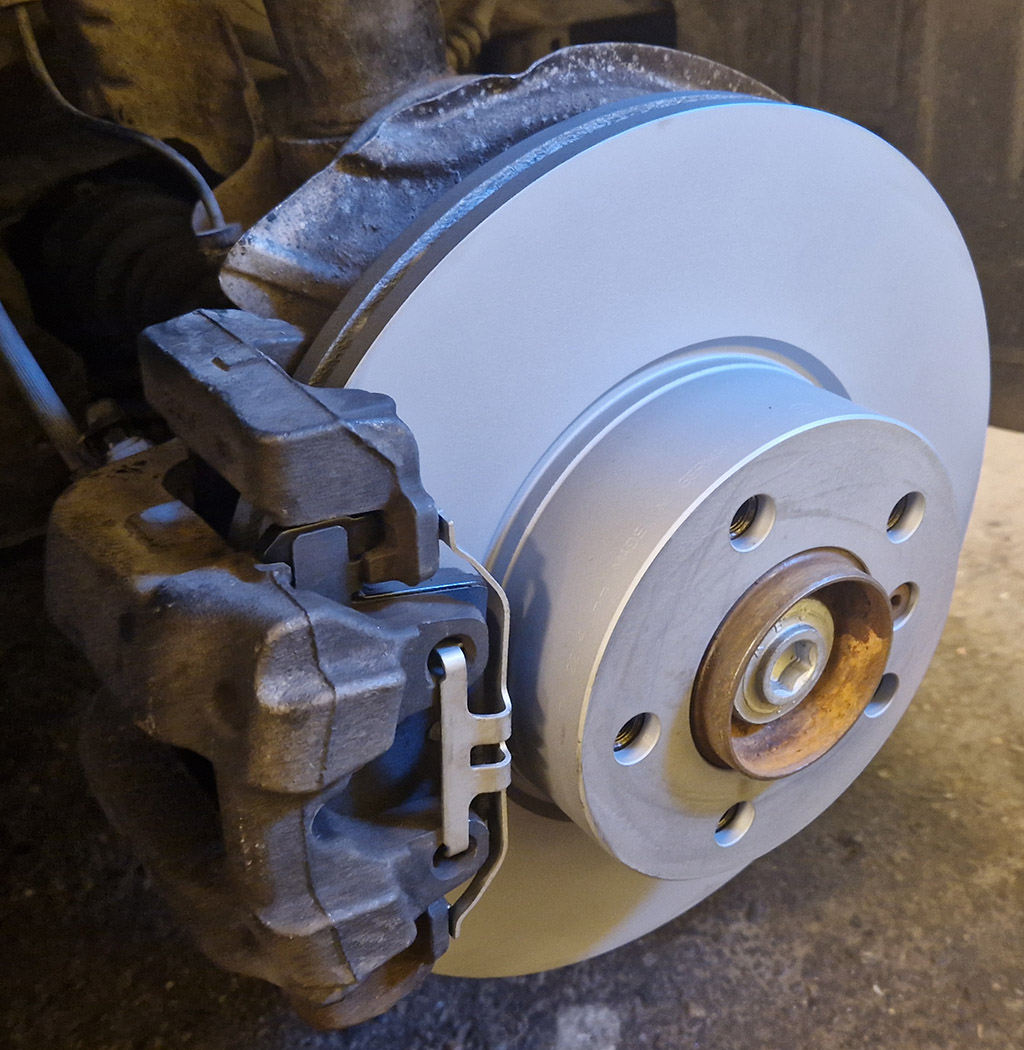
New Zn coated rotors, no visible dents.
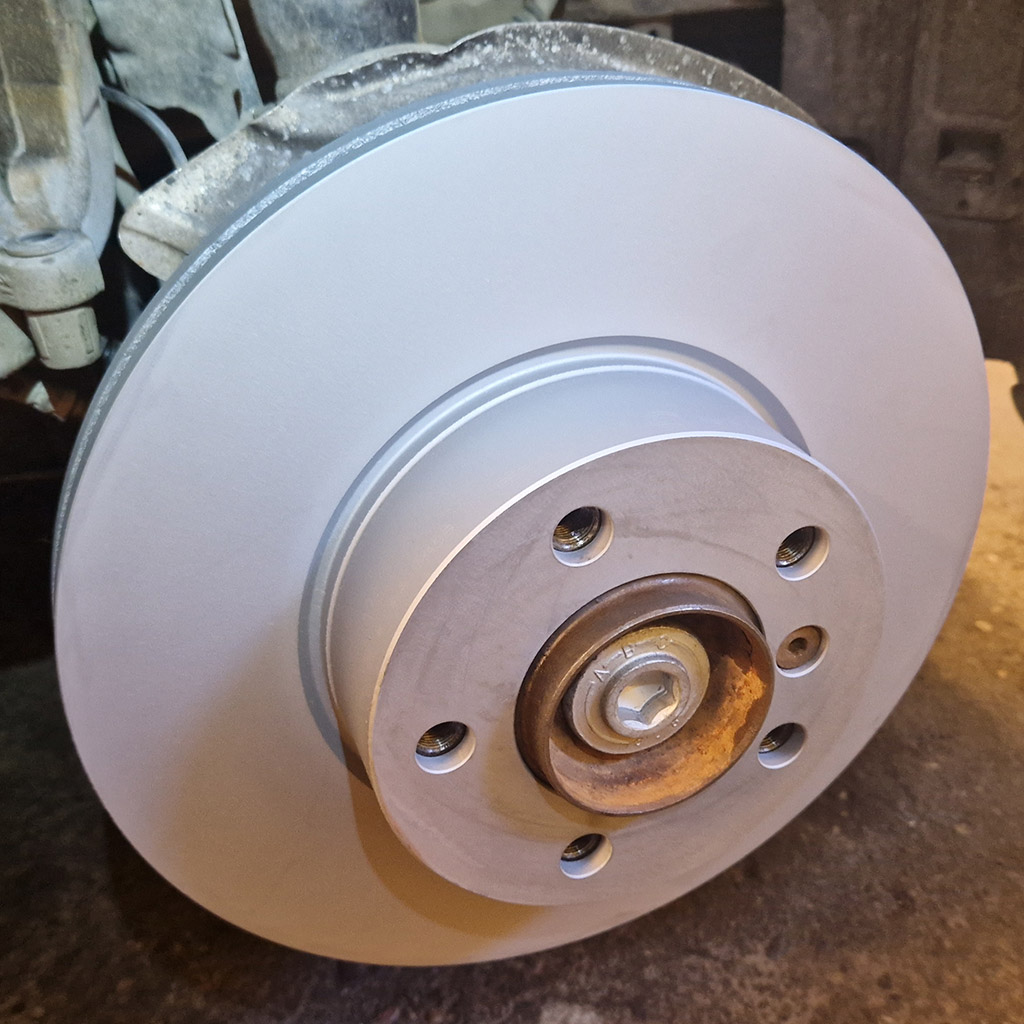
Good fitment, no unevenness. screw reinstalled
Preparing the caliper
Slide pin bushings holes will swell shut with rust.
This has the consequence that the slide pin will be clamped
and thus has harder time moving.
Using a dremel tool, holes will be cleaned and fluid film added before installing new bushings.
Removal of the old bushings.
Rusty hole vs. clened hole.
Before inserting the glide pins, thin coat of something
in a small pack
is added.
Removal of the old bushings.
Glide pin, easily moves inside bushing.
Brake pada and caliper braket
The new pads will need to be checked for fitment into caliper bracket
with the mounting clips in place etc.
If the pads can not move freely you should not cut or modify the pad
since this will make it easier for rust to damage them.
As can be seen in picture below, the pad is unable to rest on
glide surface.
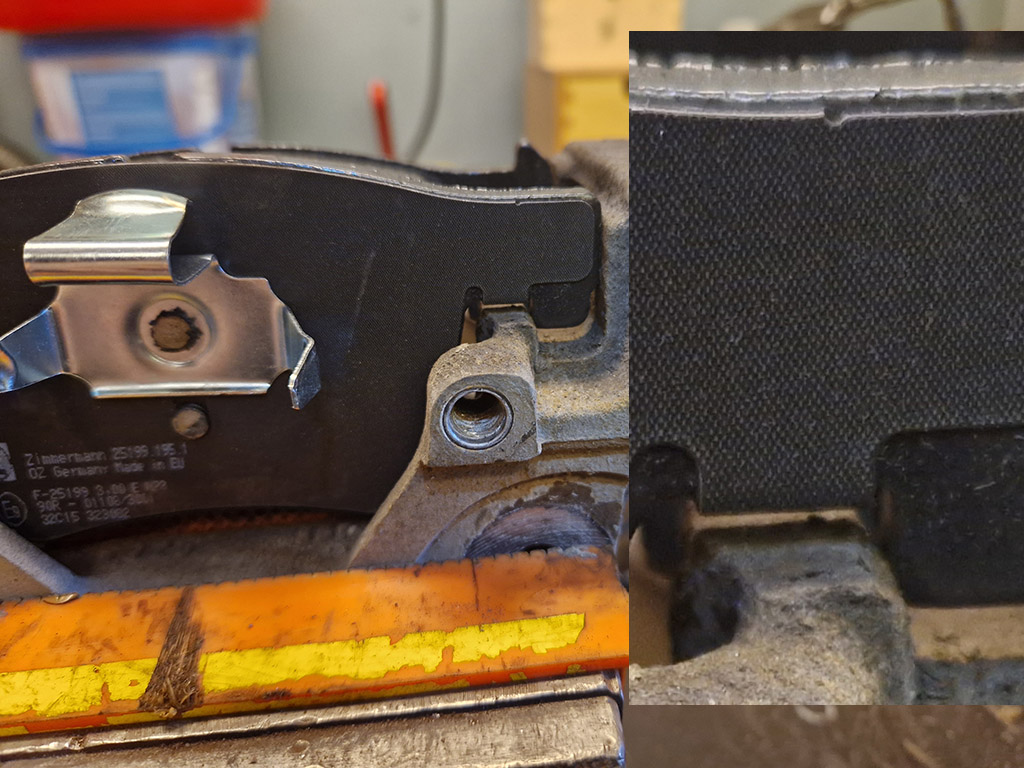
Loose fitment is a must.
Surfaces to clean.
By using dremel, chisel or metal file, clean the surface of the caliper bracket so that the pad can slide easily.
Do not add grease or copper paste, it will only grime up and collect dirt.
In the clip below, movement that is correct can be seen.
New wear indicator
Pushed in place, try avoiding bending or braking the wires.
Reinstallation
assembly is in reverse order.
After filling the brake reservoir, bleeding the brakes
is done to ensure no airbubbles are present.
All parts in place, new retainer clip
Old brake parts to bin
Not too badly worn. not worth a "pad slap".
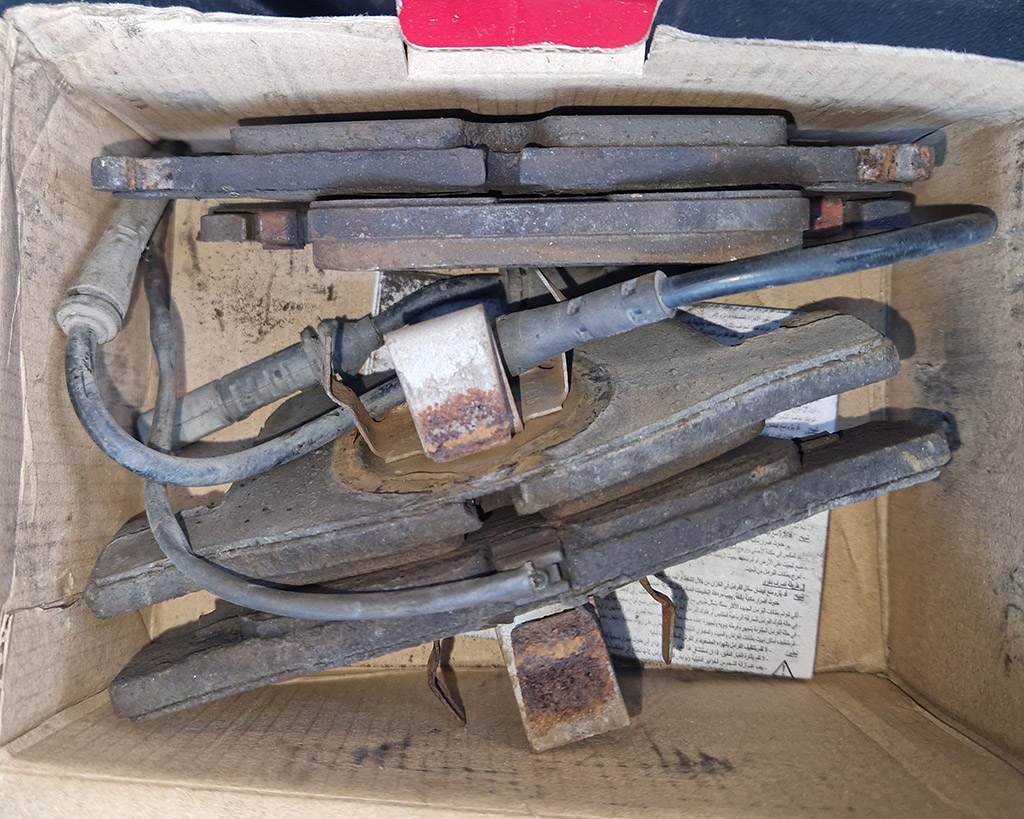
All parts to the bin
.
Service reset
1. Without touching brake or clutch, press start/stop to turn on the vehicle's electrical systems.
2.
Push down the small odometer button near the bottom-left corner of the spedometer for 10 seconds then release the button.
3. Click as many times as needed to reach desired reset option.
4. Press and hold again until the message says “Perform reset?”
5. hold down to accept and release when it is finsished.
Brake bed-in
This task is next on the list, the Zn coating on my new rotors need to be worn down so that the metal surface is exposed.
I did this with slow long brake ins, for a few km.
Slowly wearing in.

Wear surface after some 4000km
No stuttering nor shaking can be felt, there is no uneaven braking-