Dr. Strange, Eye of Agamotto talisman
Synopsis
Print and assembly of a halloween prop.
No fancy electronics used to make the green light.
There is a switch included that enables on/off.
Components needed
3D printer
Green LEDs
Resistors 180Ω
Battery holder for 2x AA or use a USB powerbank
Monostable switch
PLA
STL files - Eye of Agamotto - credit goes to Showphi on Thingiverse
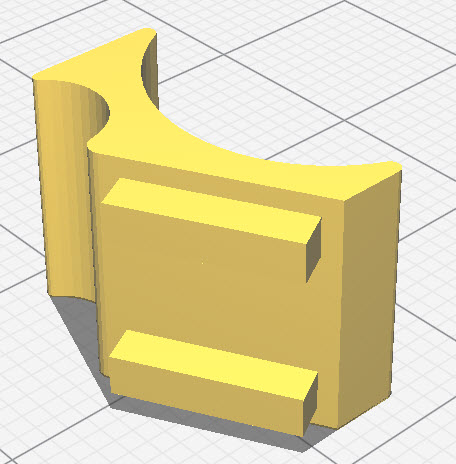
PCB belt clip - credit goes to me ; )
STL file - AA cable tie block
Printing the parts
Five files for the build of the prop.
one more for the AA holder(later)
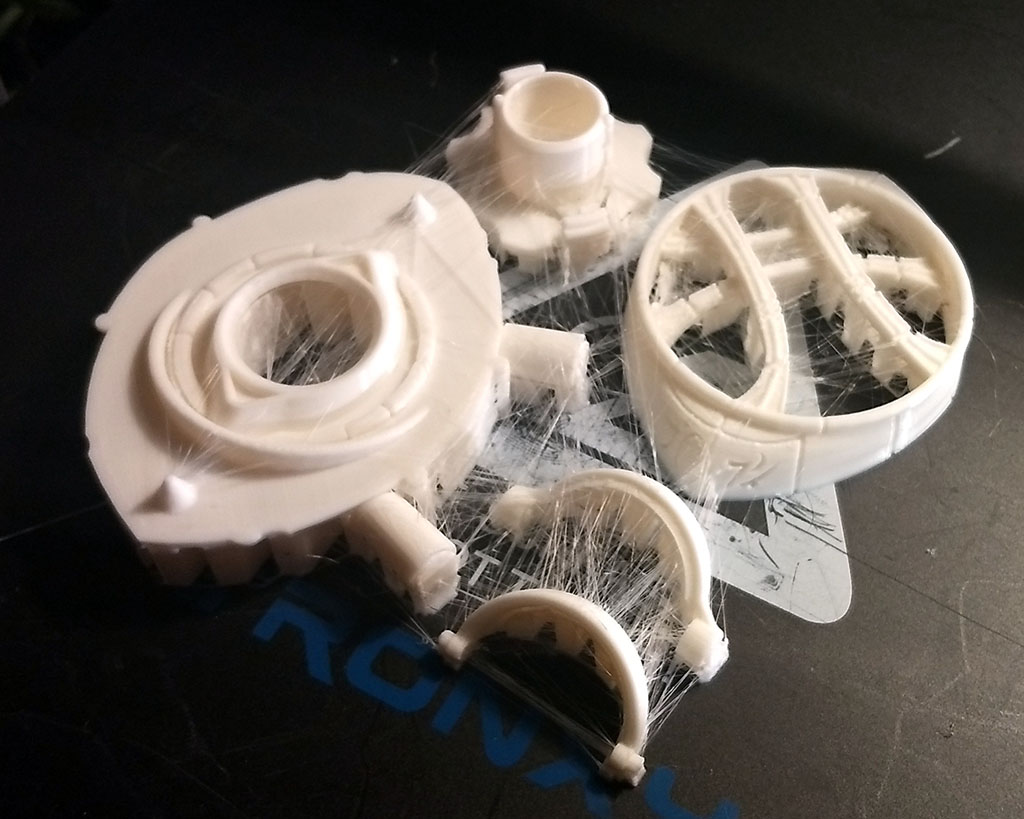
Must've picked a wet PLA spool.
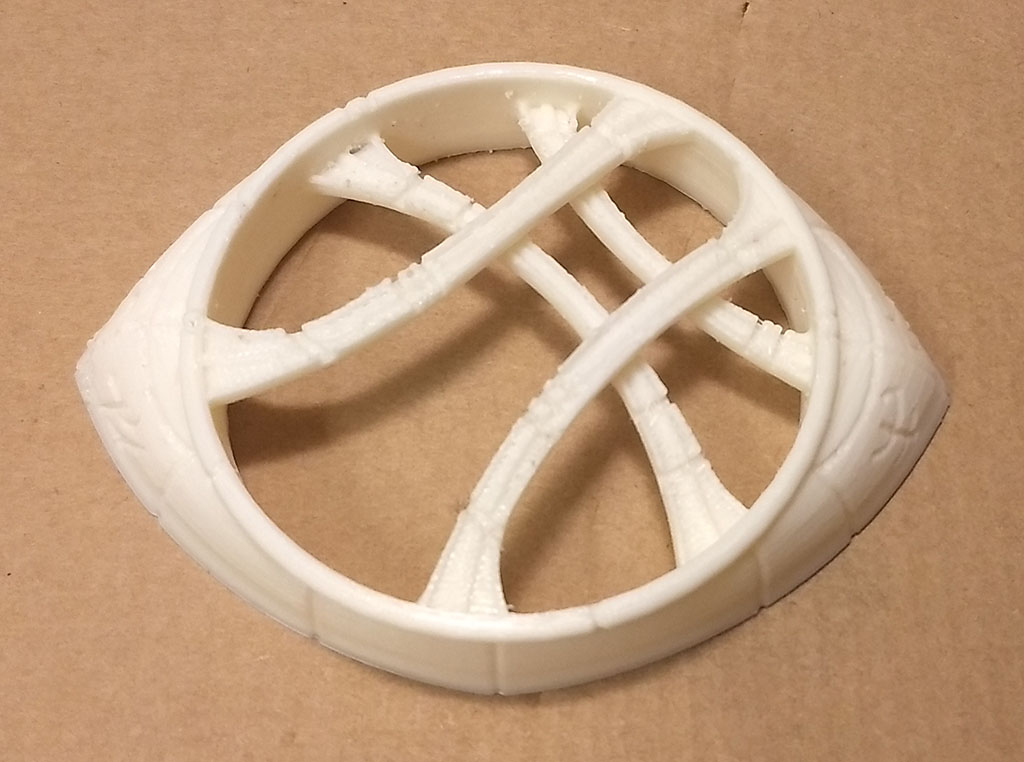
Much cleaning later.
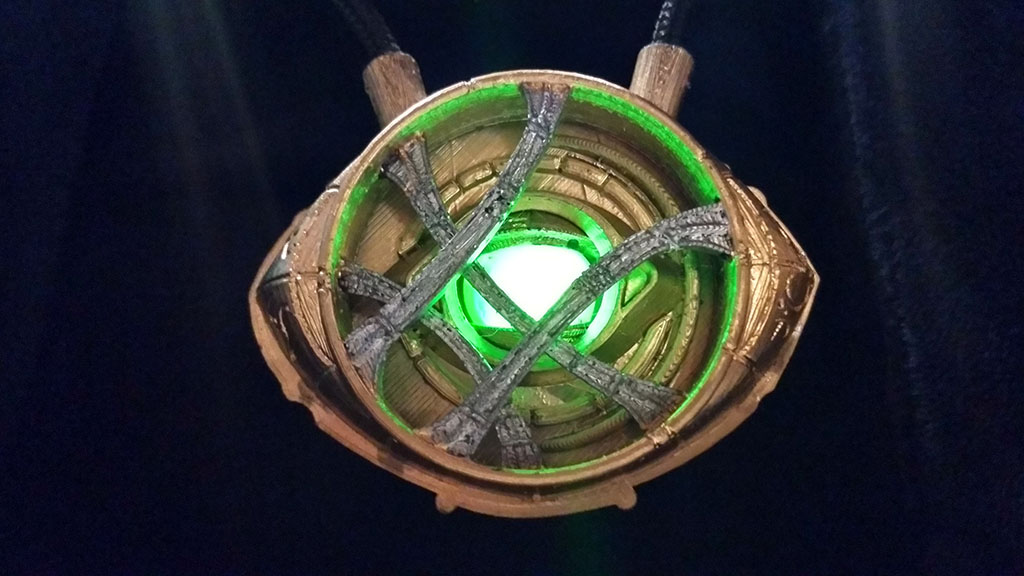
Function test before painting.
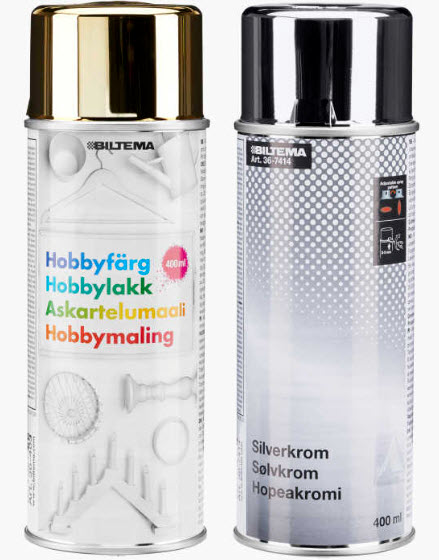
Painting
Local store had these cans available.
Hopefully it will look fine.
I do not have a paint booth so I used a pizza box
under the kitchen stove ventilation.
A solder "helping hand" is perfect for holding the smaller pieces
Black paint as primer,
and it helps gold/silver paint.
First thin layer gold spray paint
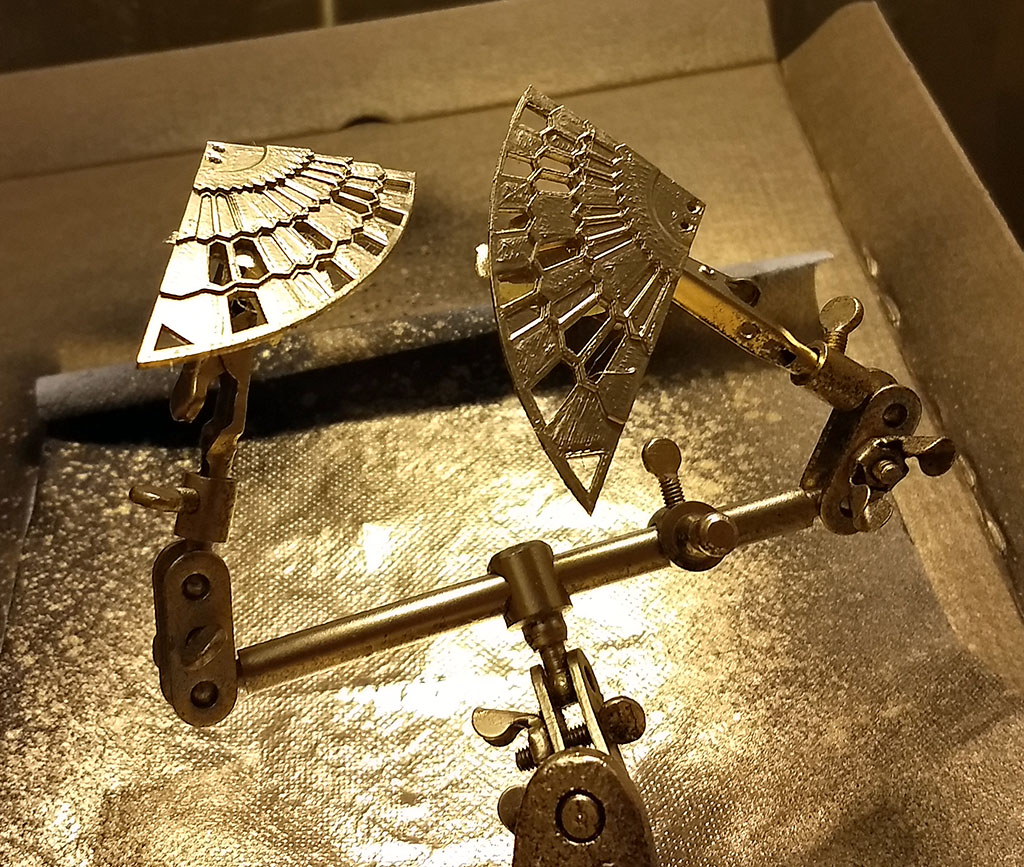
Same goes for cape decorations.
Back piece.
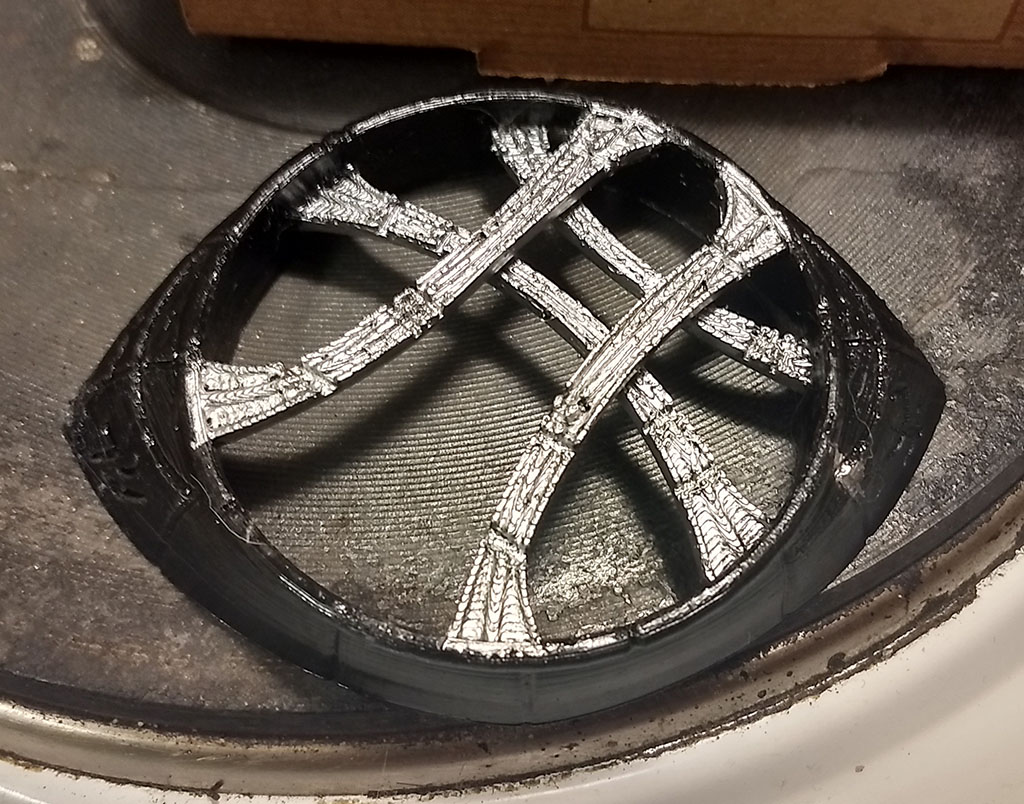
Detail painting
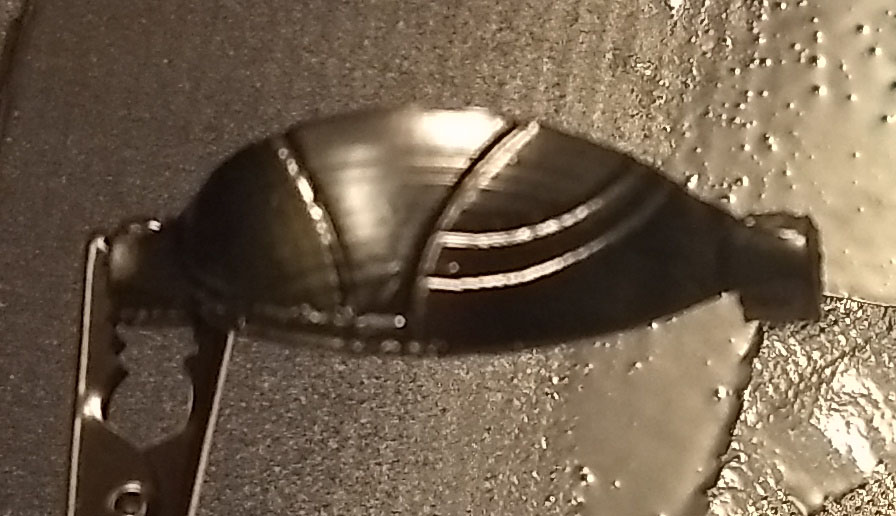
Outer structure seems to be gold and the "bars" in silver after some quick google searches.
No need to overdo it.
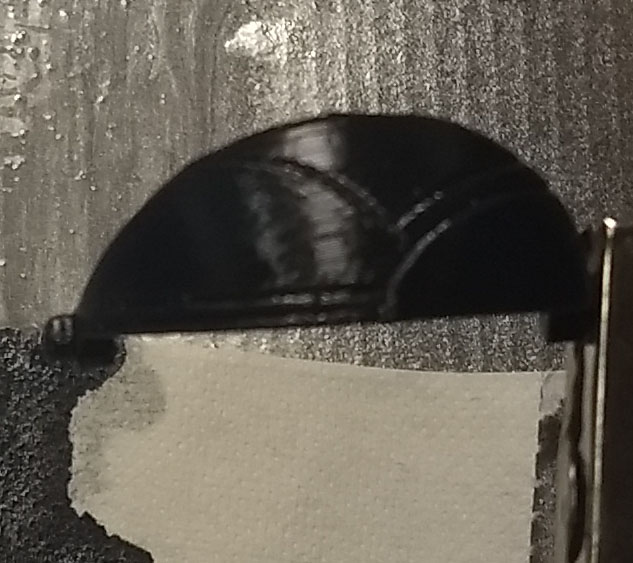
First step was painting the entire front piece black, then add tape to
areas not supposed to be silver.
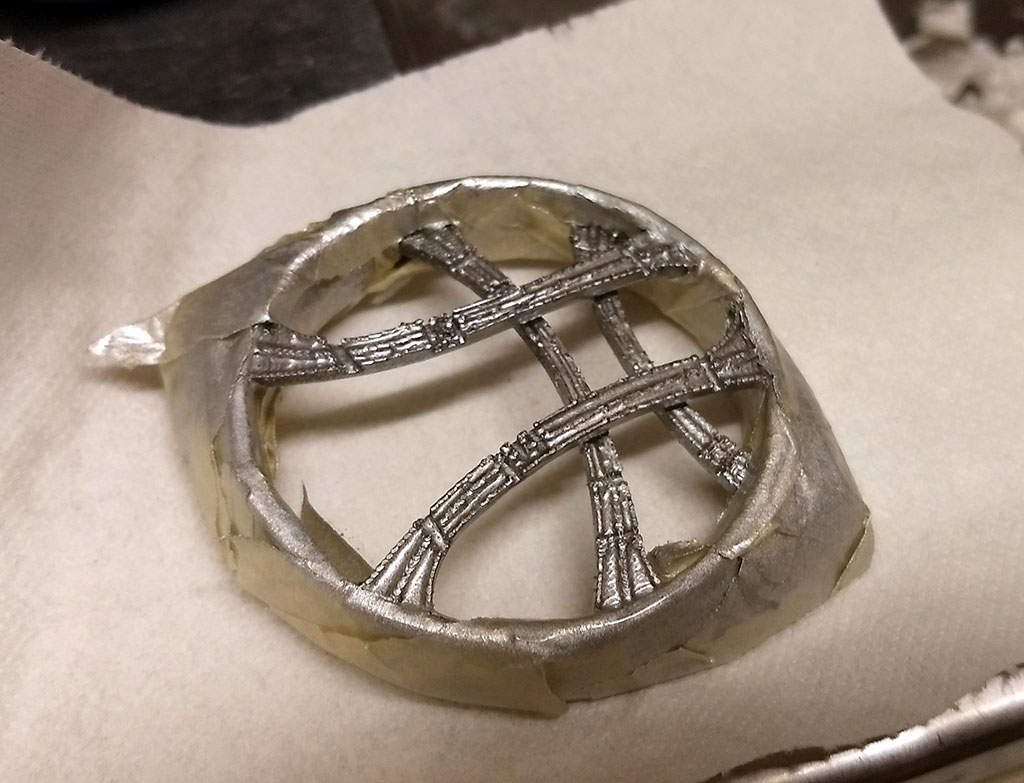
Covered and painted
Coverage seems fine, inverse masking next.
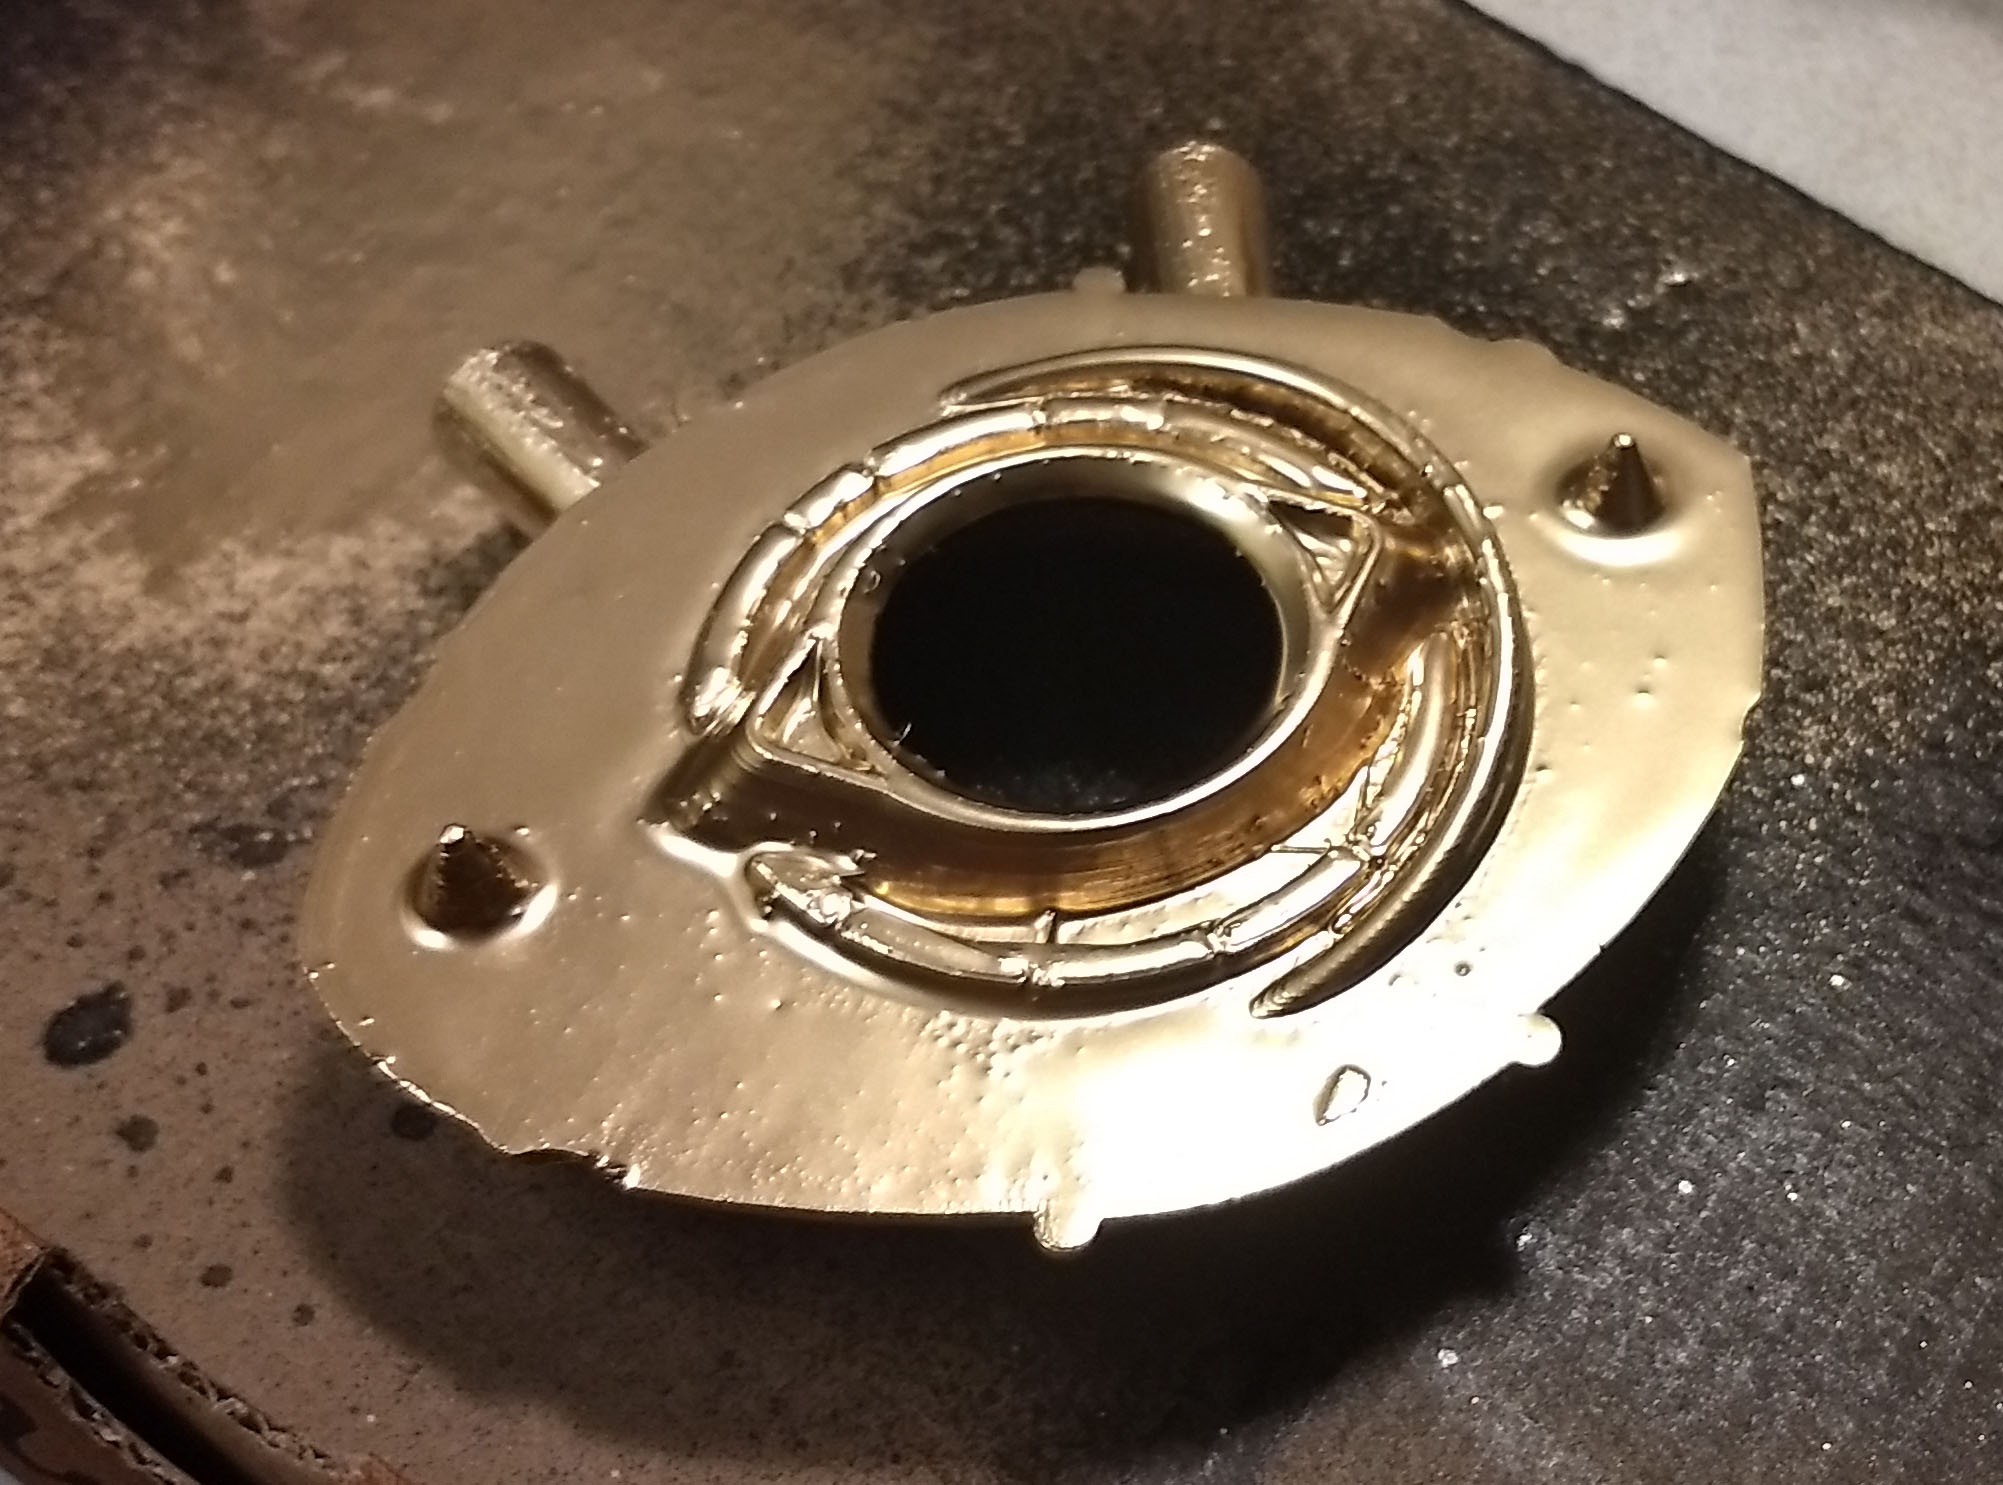
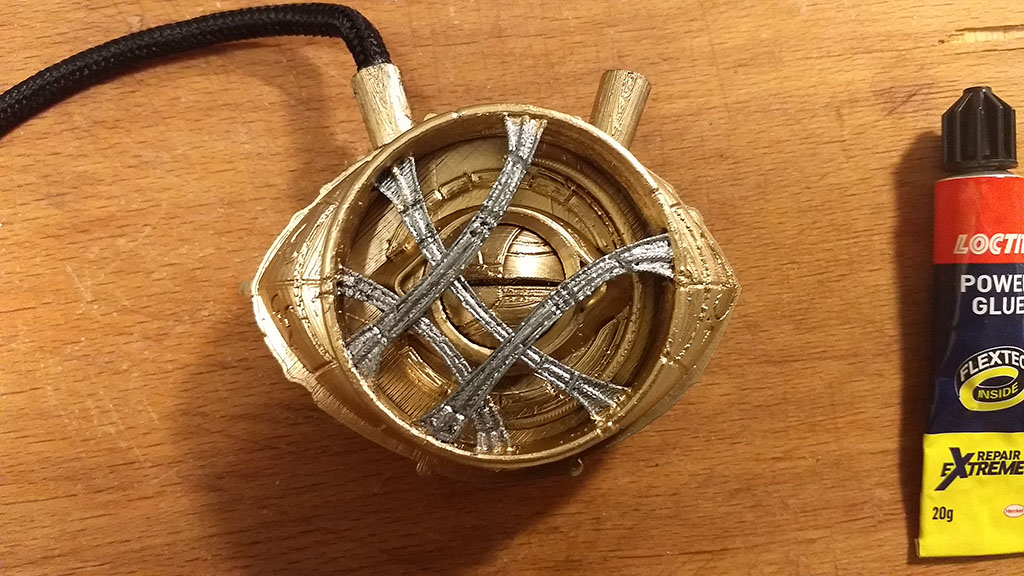
Assembly
two screws needed, otherwise no problem
Function test after painting.
Braided decorative rope.
Installation of LEDs
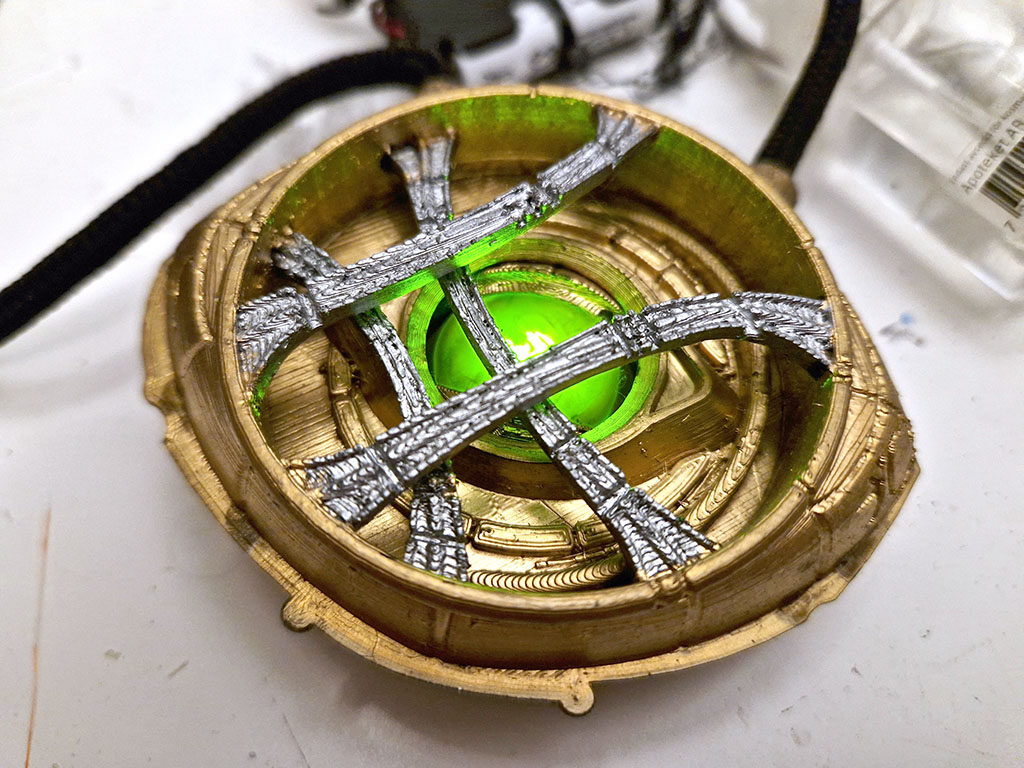
I bunched up three small green LEDs,
it'll be bright enough.
I did not paint the mechanism housing, the white
walls will help with the green light.
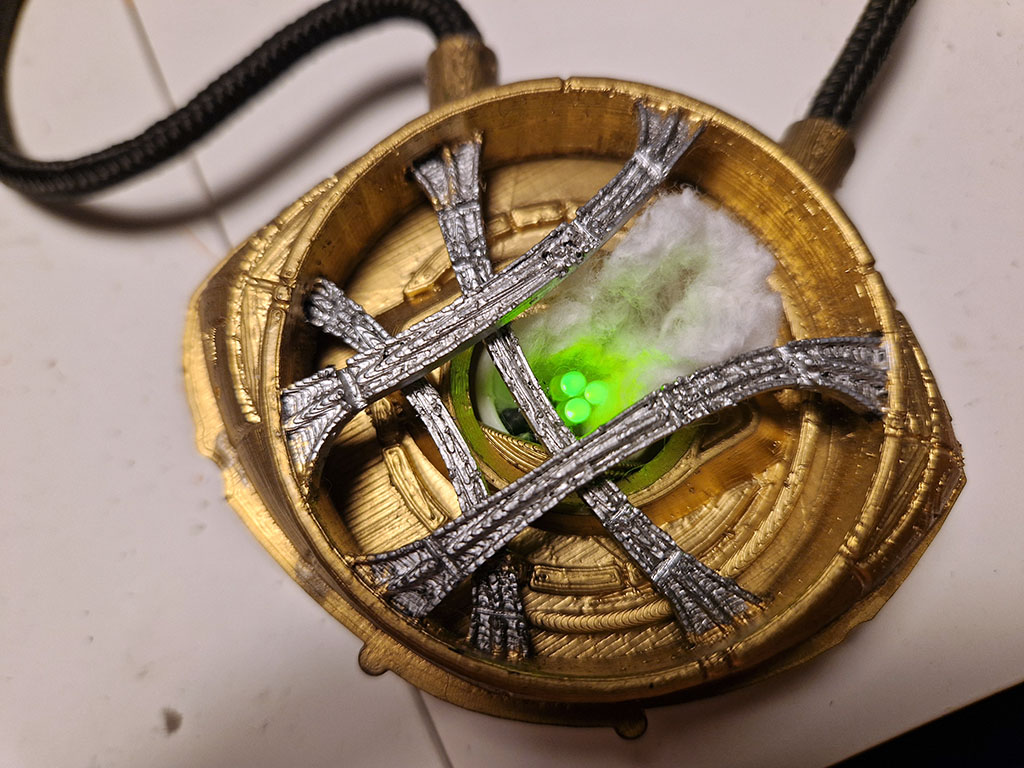
For each diode a resistor is needed,
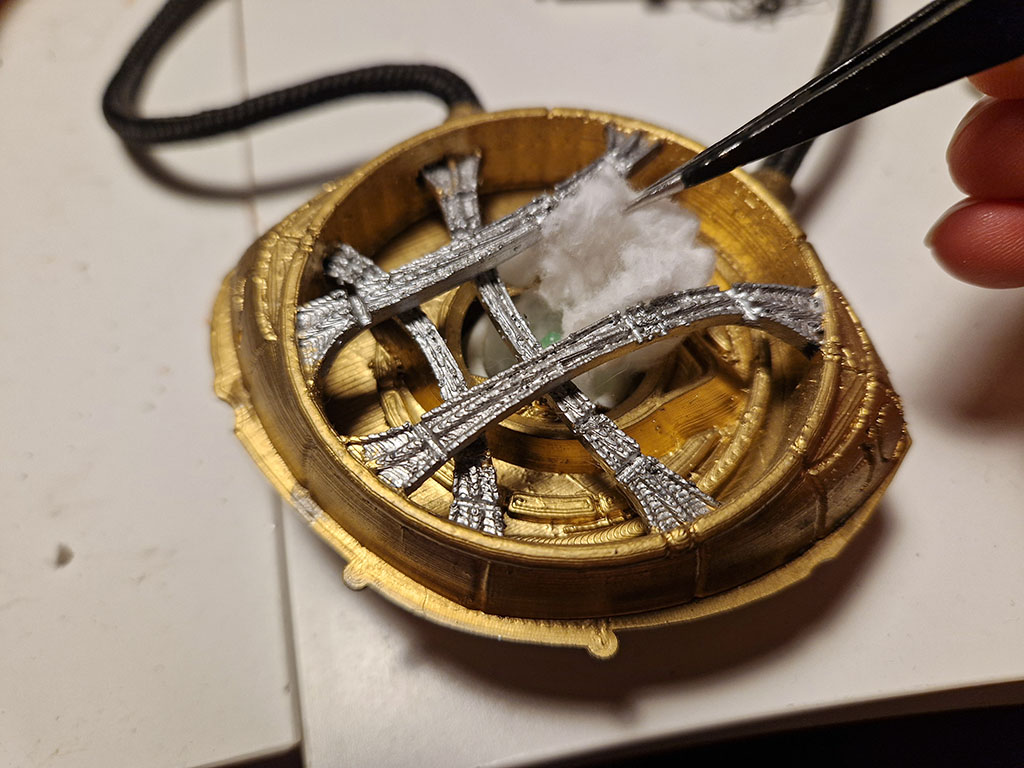
Cotton wadding to center them..
Cotton wadding over the LEDs..
Cloudy eye effect achived.
Lights up ok, maximum load of 45mA on two AA should last
a few hours.
Wires are glued to the channel in the rear body.
the braiding can be used to sneakily hide the routing to the battery pack.
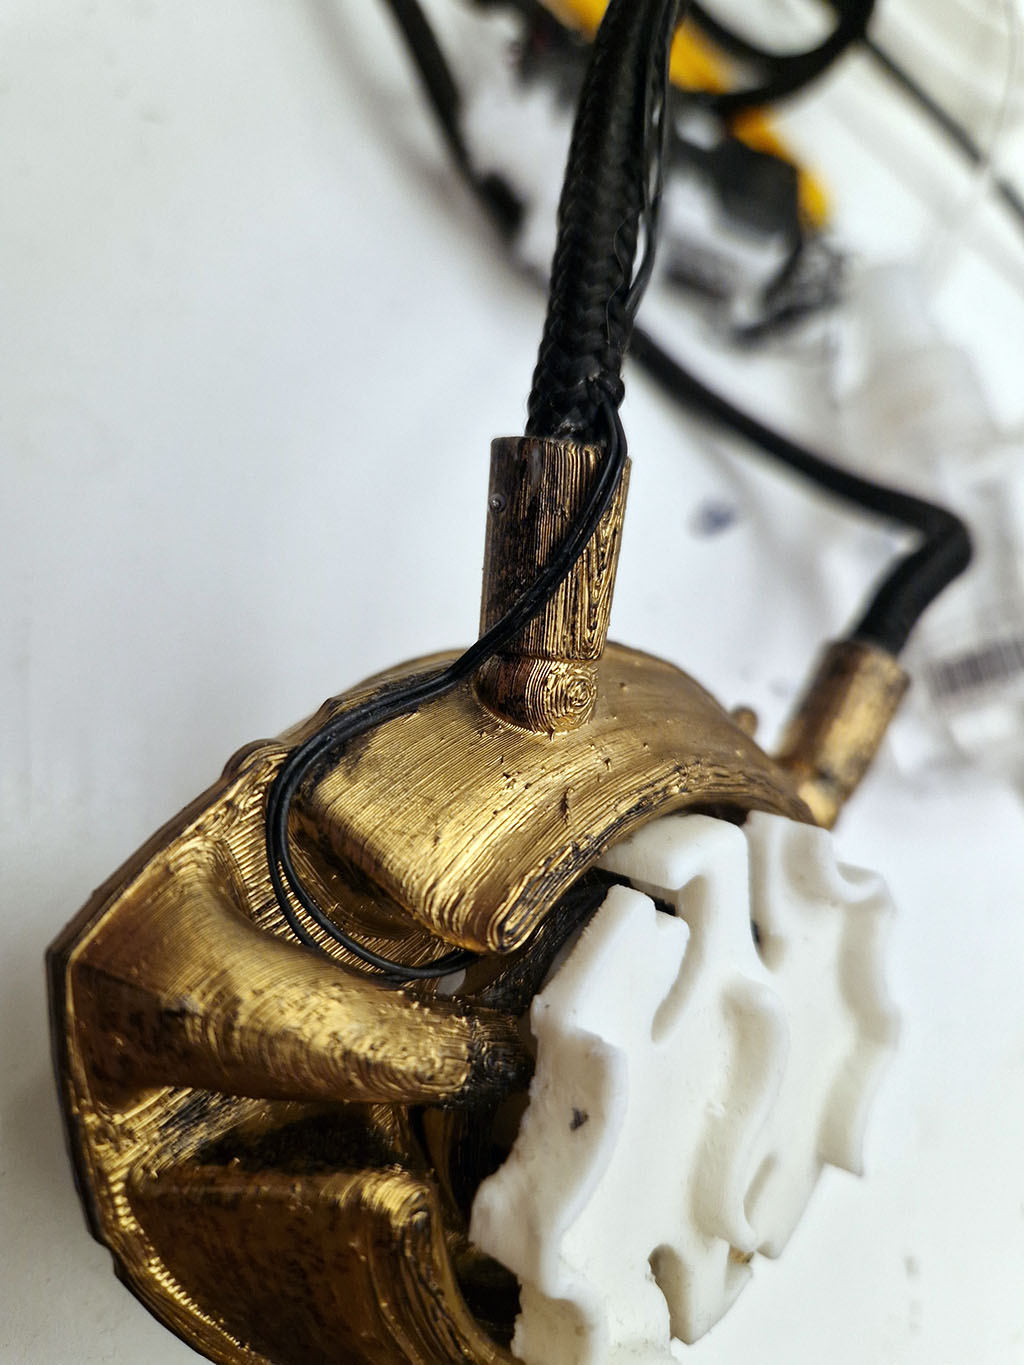
Braided wires.
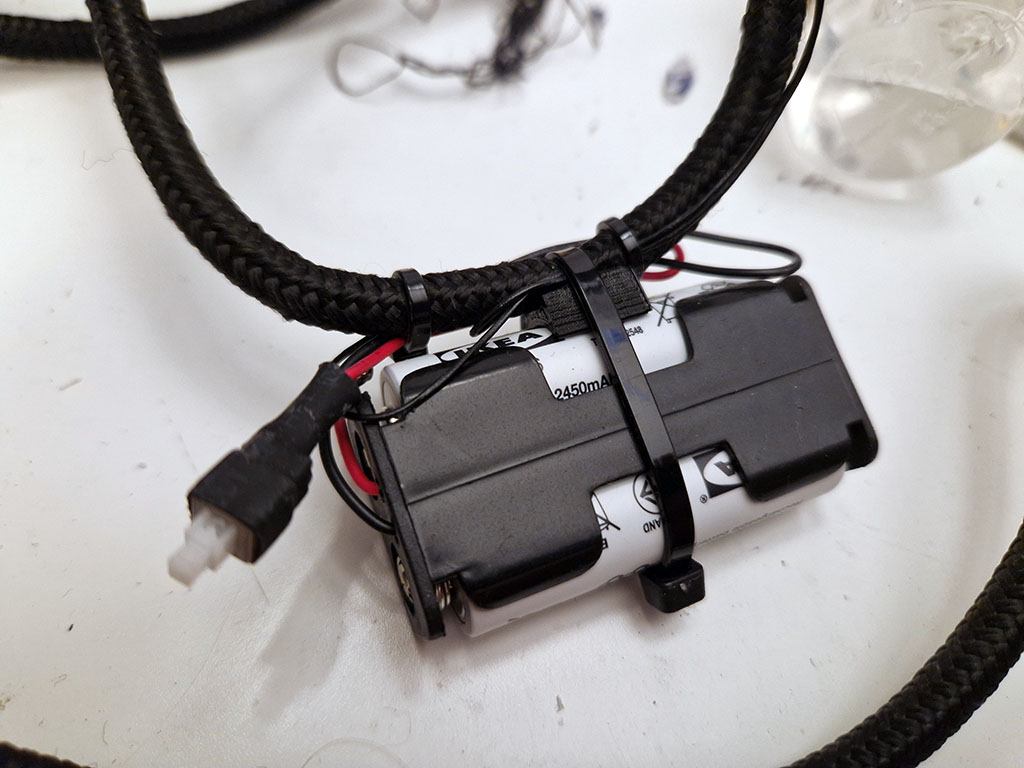
Simple bistable switch, only on/off.
Strapped battery to cord with a quick print.
Testing the setup IRL
Unit is hanged around the neck, battery pack hidden under cape.
Works perfectly.
Function test before painting.
-191023